

August 10th, 2008 in Photoshop Tutorials by Richard Carpenter
Personal Portfolio Layout

 15 Votes, Rating: 4.53
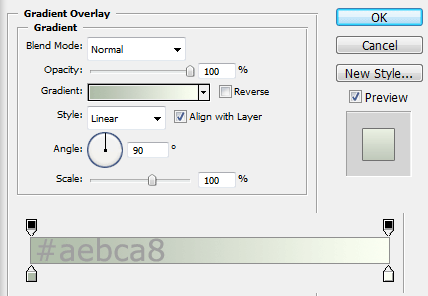
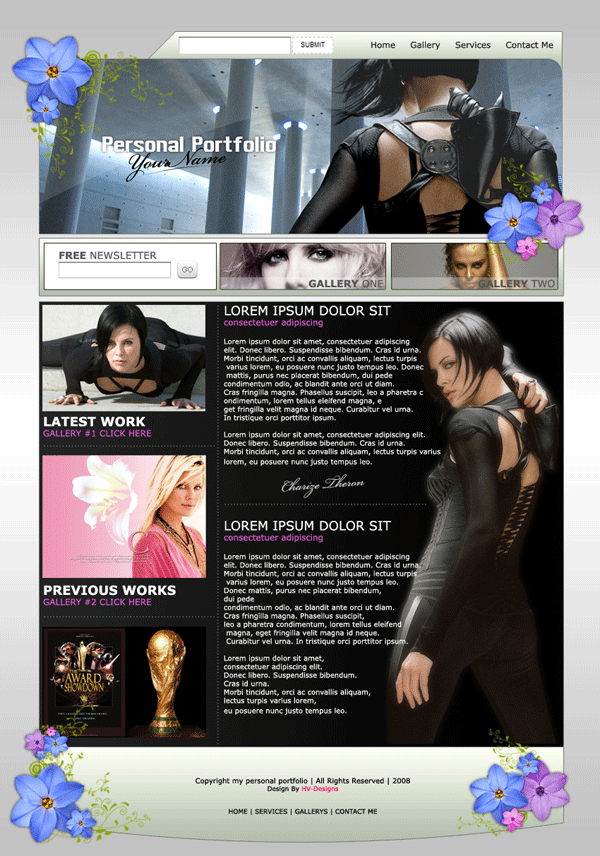
Create a new document 850×1200 pixels, double click your background layer, press ok when the box pops up, doing this will unlock the background layer. Add this gradient overlay to your backgrouond layer.

Select the rounded rectangle tool, draw out a black rectangle.

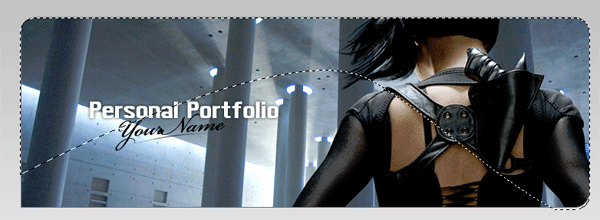
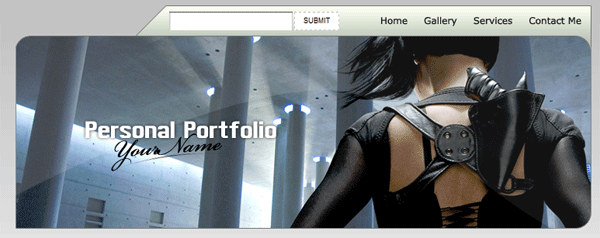
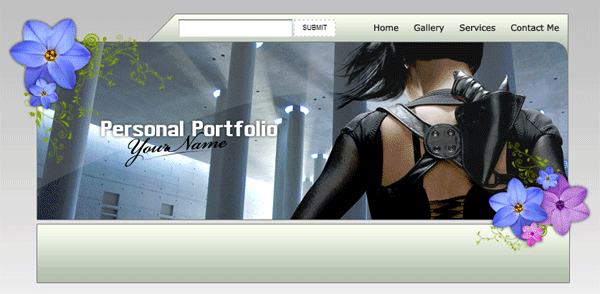
Grab an image you want to use for your header, open it up in photoshop, copy it to the clipboard then head back over to your original canvas.
Click on your black rectangle layer whilst holding down the ctrl key, this will make a selection. Now goto “edit > paste into” you are free to move the pasted image around, but as you will see it will only move about within the rectangle. Hide your black rectangle layer and add your header text.

Select the pen tool and create a selection like this.
On a new layer fill with the color white, set layer opacity to about 12%.
With the polygonal lasso tool create a box above your header like this.

Fill with any color then add these layer styles.
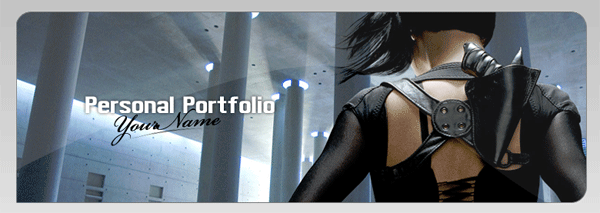
Add your naviagtion items to complete the effect.
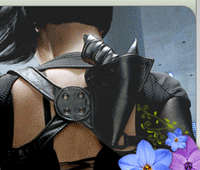
For this next part your going to need a picture of a flower, and some weed type brushes, cut the background from the flower and add it your header.
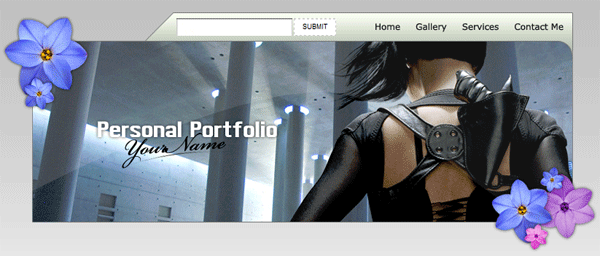
Try and rotate the flower here and there and resize it so it all doesnt look the same, ive also colorized some of mine in lighter colors. Now add your weeds on a layer behind the flowers.
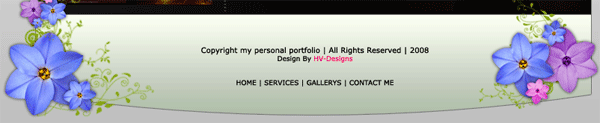
On another new layer underneath all your header layers draw out a rectangle the same width as the header. Copy/paste the layer styles we added on the naviagtion.
Add some elements to your box, ive decided to add a newsletter box and some tasty teaser gallery pictures.

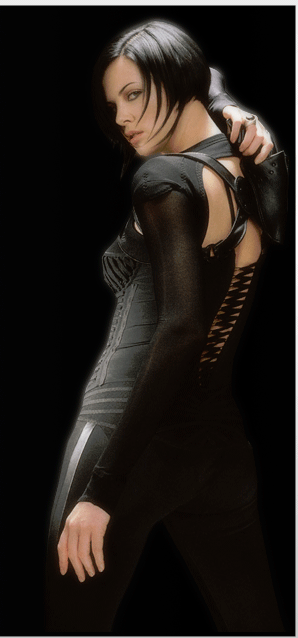
Select the colors #242323 & #000000 create a big square the same width as the header, drag a linear gradient over your box. Find an image you would like to use in your portfolio remove the background and add it into your box.
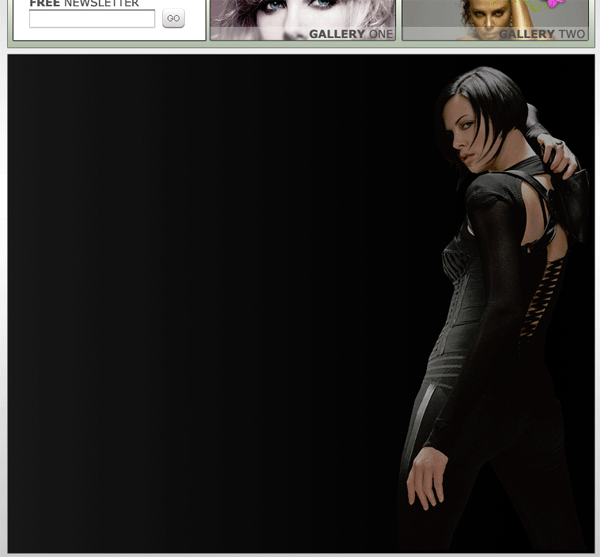
Duplicate your image, then blur the orginal layer by about 4%. Set the layer opacity on the duplicated later to about 65%.
Now begin to add your content.

Now with the pen tool or warp tool create a shape like this.

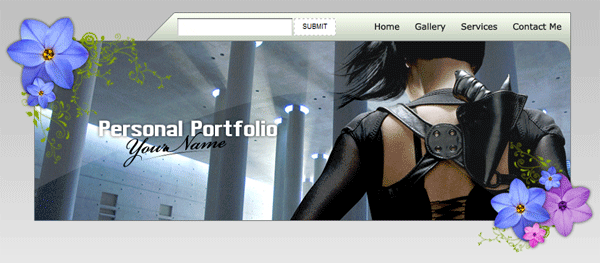
Copy/paste the layer styles from your navigation. Continue to add the weeds and flowers as you did in your header.
FINISHED!.


Be Part Of The Community!
Become part of the hv-designs community.
Subscribe Via RSS or Follow Us On Twitter.


14 Responses to “Personal Portfolio Layout”