June 25th, 2008 in Photoshop Tutorials by Richard Carpenter
Car Sales/Club Layout
Create a new document 900 x 1130, fill the background with the color #343436. Now your going to need an image of a car of some sort, ive chose a vector that i found on google. (IMAGE NOW REMOVED DUE TO COPYRIGHT) Best to find one with a simple background. Copy/Paste your car image onto your canvas, resize down to fit into the top right hand corner of the canvas.
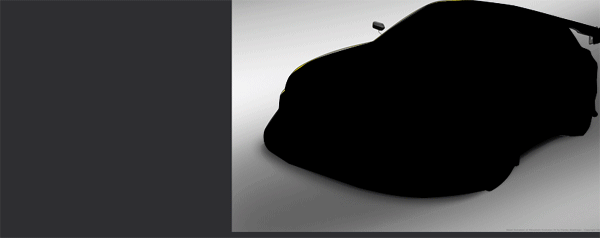
Select the first few pixels of the car image using the rectangle marquee tool.
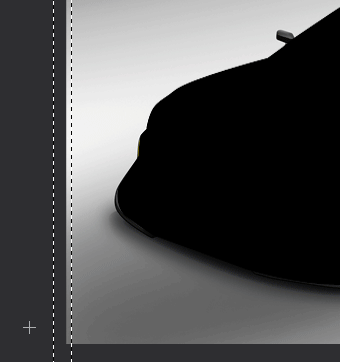
Now press “ctrl + T” and drag the middle anchor point on the left right the way across the canvas.
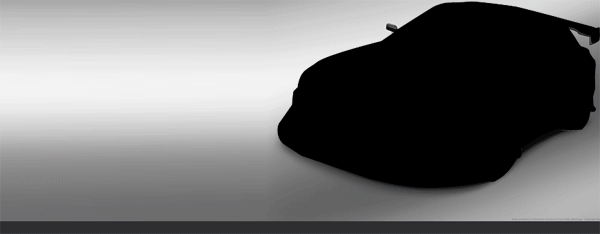
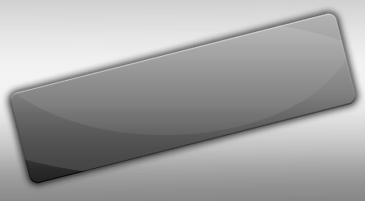
Now select the rounded rectangle tool, draw out a number plate type shape, press ctrl+t and rotate it slightly like the image below.
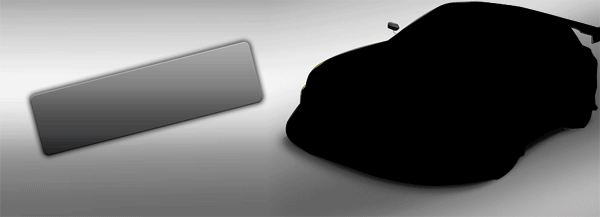
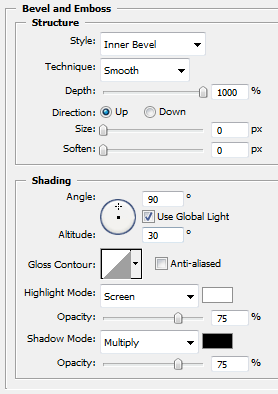
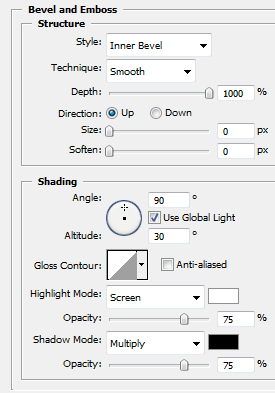
Now add these layer styles to match mine.
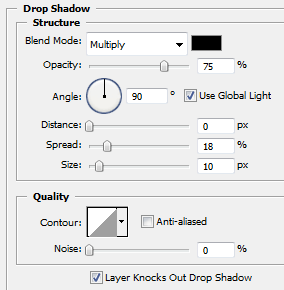
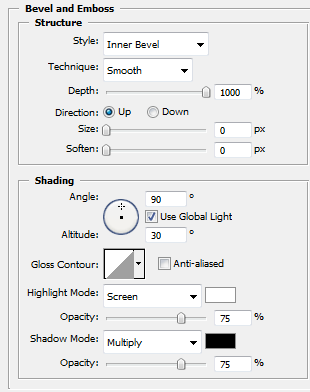
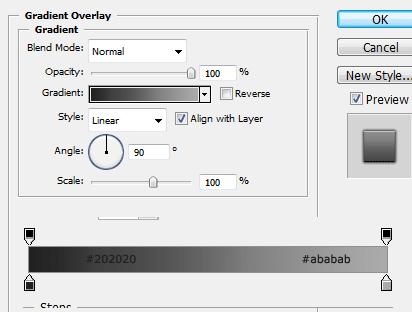
On a new layer above your number plate shape select the circle tool and create a selection like the image below.

Fill with the color white and set layer opacity to 10%, Now while the white circle layer is selected press ctrl and click on the number plate layer to make a selection of the number plate, now goto “select > inverse” and hit the delete key. You should be left with this.

Do the same again only this time change the white circle to.
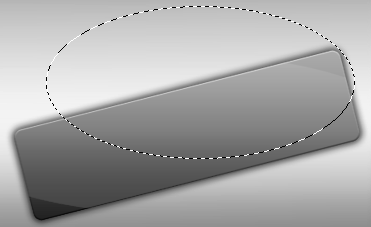
Set the 2nd white circle layers opacity to 7%, you should end up with something like this.
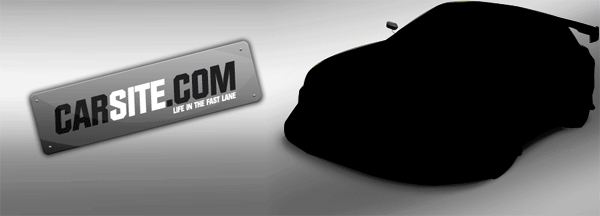
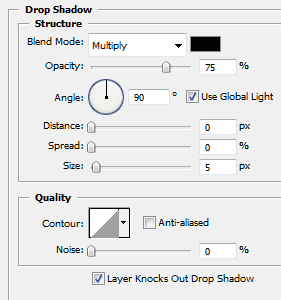
Now on your number plate shape add your website title and slogan, also create 4 really small circles for each corner of the number plate and add these layer styles.

You should have something like this.
Now underneath your header create a rectangle the width of your canvas, this will be our navigation bar.

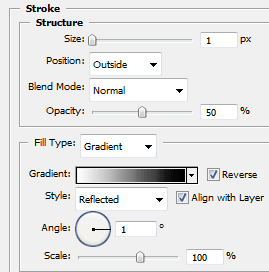
Add these layer styles to your navigation.

Now add your navigation text, and add a shine in the same way you did before on the number plate only this time use a rectangle the width of the navigation. Your navigation should now look like this.
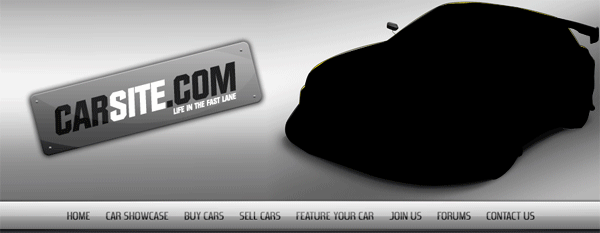
Draw a box using the rounded rectangle tool underneath your navigation, leaving a gap inbetween the two items. Right click your navigtion and goto “copy layer styles” now right click your content box and goto “paste layer styles” you should have a navigation box like this.

Create a small circle inside your content box this will be our little orb icon, copy and paste your navigation layer styles to your circle, and add 2 shines to it like we did on the number plate in the header. Goto your photoshop custom shapes and select a shape to go into your orb.

Now add your content box title and some content.
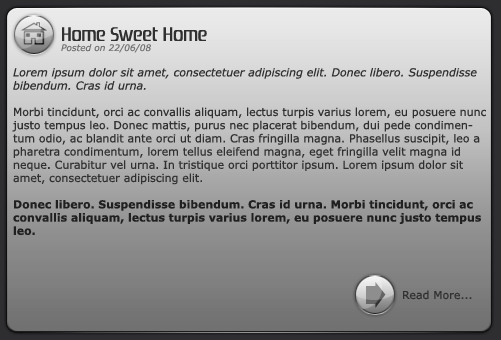
Now follow the steps above to create more content boxes.

Now finally duplicate all your naviagtion elements, drag to the bottom of your canvas, change the naviagtion text items to your copyright information. Your layout should look like this.

Be Part Of The Community!
Become part of the hv-designs community.
Subscribe Via RSS or Follow Us On Twitter.


12 Responses to “Car Sales/Club Layout”