October 2nd, 2007 in Photoshop Tutorials by Richard Carpenter
Anime Coloring Pt1 Tutorial
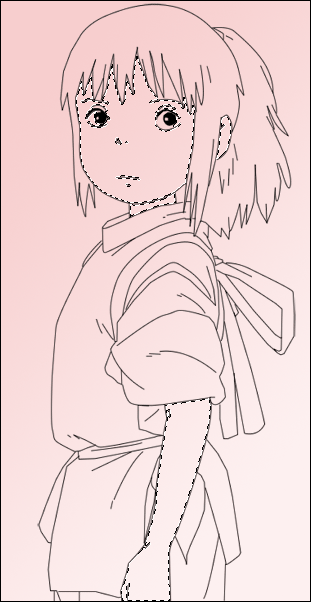
For this example ive chosen a randam anime girl. Firstly lets create our background, Ive chosen a pink gradient.

Now place your drawing over the background layer and set the blending options to multiply. Now everything that we’ll be coloring will be placed under our sketch drawing. (THIS IS IMPORTANT). Select your skin color and the magic wand tool. Start by selecting the skin hold down shift on the keyboard to select multiple areas.

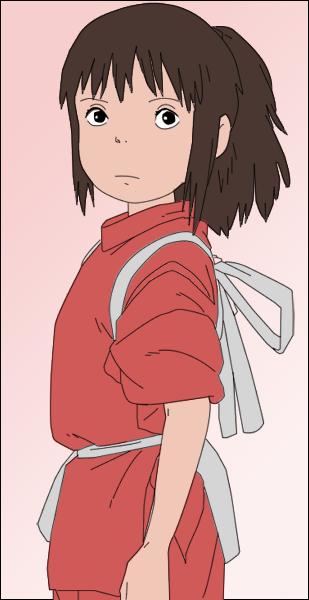
Once selected goto “select > modify > expand” and expand by 1pixel. Create a new layer under your sketch layer, label it “skin” then on the new layer color your selection with your chosen color.

Follow the steps above for every color, placing the colors under the lines each time also dont forget to expand by 1 pixel.


Learn how to add shading to create an anime look. “CLICK HERE”
Be Part Of The Community!
Become part of the hv-designs community.
Subscribe Via RSS or Follow Us On Twitter.


2 Responses to “Anime Coloring Pt1 Tutorial”