September 30th, 2007 in Photoshop Tutorials by Richard Carpenter
Chameleon Effect Tutorial
Open up your car image and select the “pen tool”, once selected draw around your car, NOT selecting the wheels, lights, windows, grills etc… this will be a lengthy process but you will get there in the end, once you have selected the car make the selection and copy to a new layer, and if you hide your background layer you should have something like this.

Ive done it this way because when we apply the effect we dont want the chameleon paint on the windows, grills etc…. keep your background layer hidden for now. Make a new layer and name it paint one, and then goto the menu at the top and click “select > color range” set fuzziness to about 70 and just click anywhere on your car image then press ok.

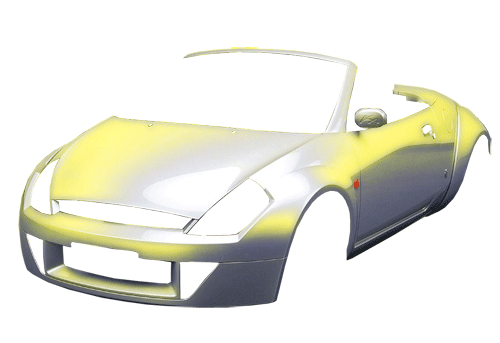
Once you have pressed ok you will notice a selection of your car has been highlighted DO NOT DESELECT the selection, now go over to your color pallete and choose your desired color for your 1st paint layer im going to choose a yellow, then fill the selection and set the “layer blending mode” to “overlay”. Then “ctrl” and click on your car image to select the selection but have the paint one layer selected and goto “filter > blur > guassian blur” and blur it by about 5 pixels.

Select your car layer and goto “select > color range” Find a space where your 1st color isnt already and select it press okay. Now create a new layer ontop of all your other layers and name it paint two. Open up your color pallete and select your 2nd color im going to use and orangy color, then fill the selection, set layer overlay and add a guassian blur at 5 pixels. (FOLLOW STEP 3 BUT WITH YOUR 2ND COLOR)

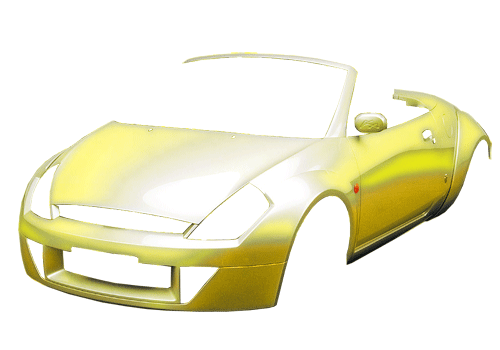
Now do the same for a 3rd, 4th or 5th color depending on how many colors you want (the more colors you have the more your car will be chameleon like following the steps above, and remembering to add the guassian blur and to set the layers to overlay. I normally do between 3-5 colors, im using 4 colors for this tutorial heres my image with the 4th color applied.

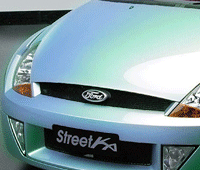
once you have finished add your paint just unhide your background layer heres how mine looks and theres a few more examples underneath.


Be Part Of The Community!
Become part of the hv-designs community.
Subscribe Via RSS or Follow Us On Twitter.


