Your ads will be inserted here by
AdSense Now!.
Please go to the plugin admin page to paste your ad code.
Hello everybody, in this tutorial I’ll be showing you how to create a digital CV (Curriculum Vitae). The tutorial itself is pretty simple to do, but I’ll be showing you how to code it into a working template in part 2.
Resources Used In This Tutorial
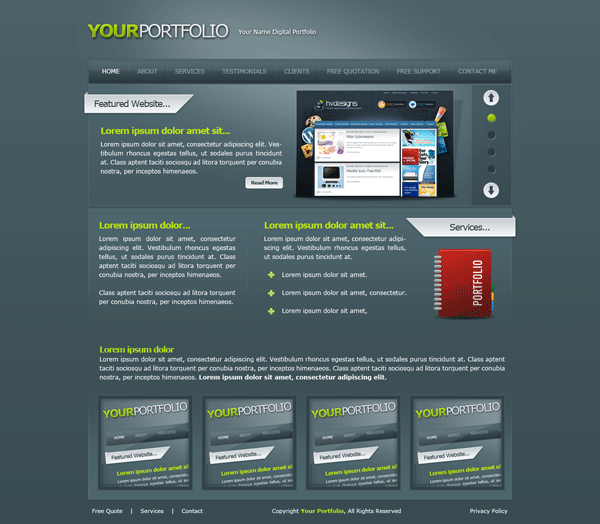
What We’ll Be Creating
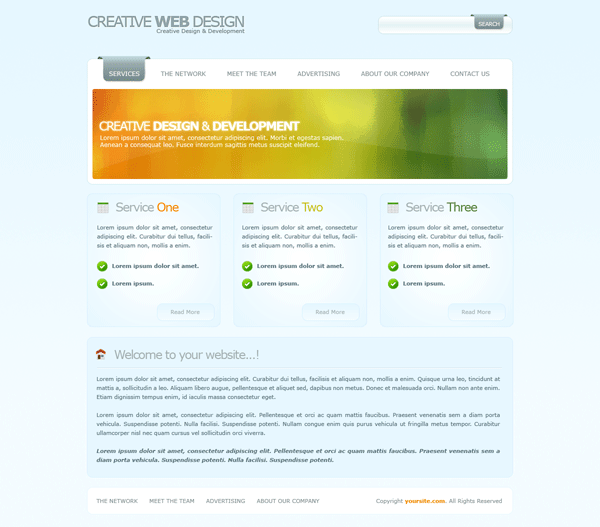
This is what the finished tutorial should look like. (Click To Enlarge)
Lets Get Started
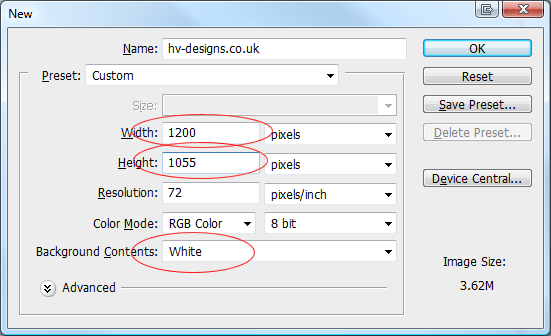
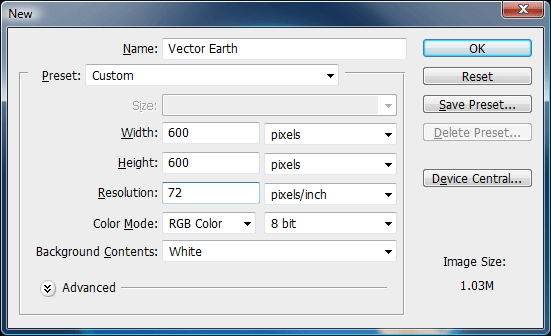
Create a new document 1200 x 1600 pixels with a white background. Were starting off with quite a big canvas due to the amount information we’ll be adding into the layout.
The layout will be 850 pixels wide, so to ensure the layout measures up i’ve added two guides. To create your guides go to “View > New Guide”.

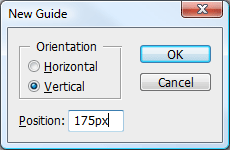
In the box that pops up enter 175px, then press ok.

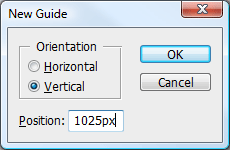
Repeat the step once more only this time enter 1025px, then press ok.

Creating The Background
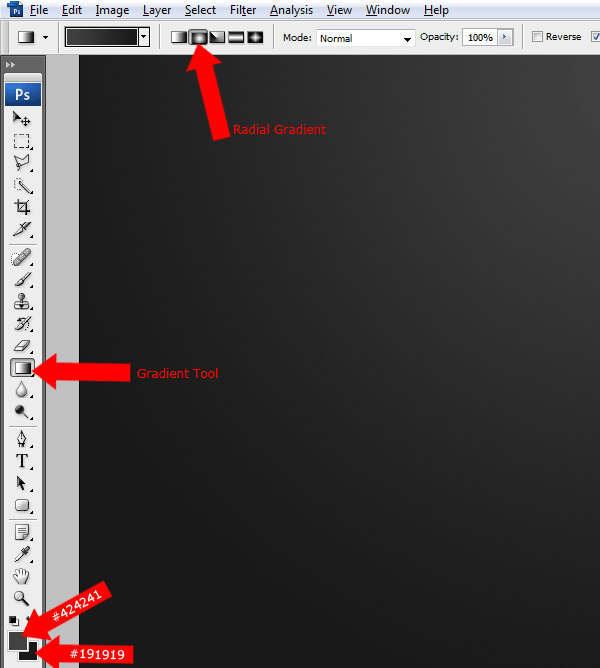
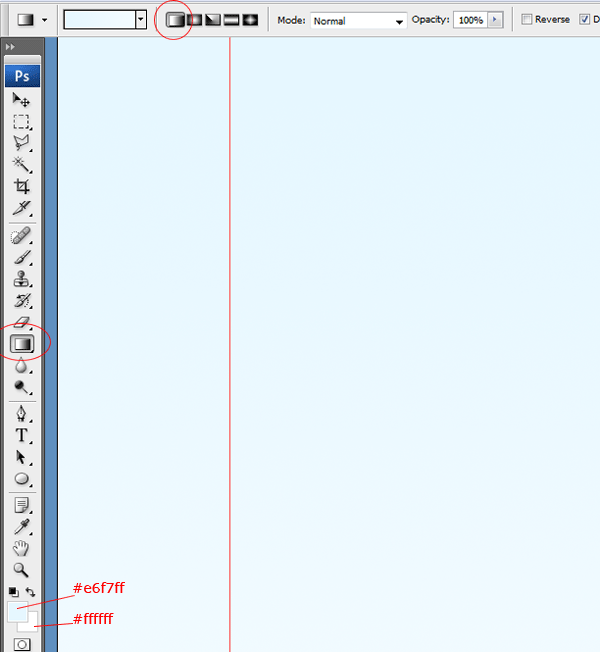
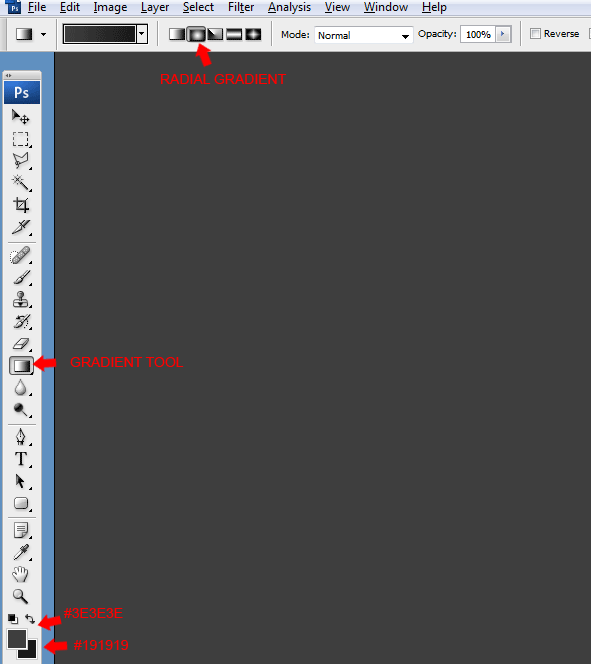
Set your foreground color to #132e47 and background color to #132434 then select the gradient tool with a reflected gradient.


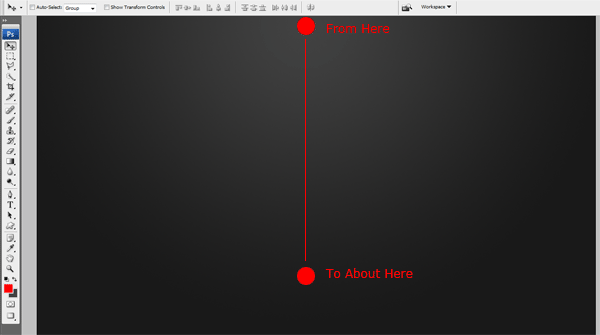
Now that you’ve selected the gradient tool drag the gradient over your canvas. Start from about 400 pixels from the top of your canvas and drag about half the way down.
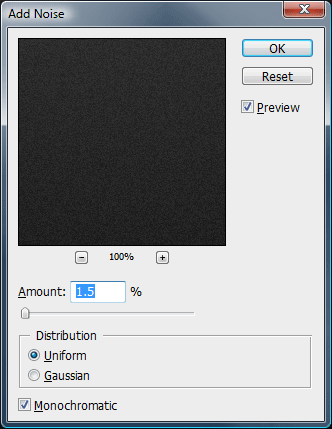
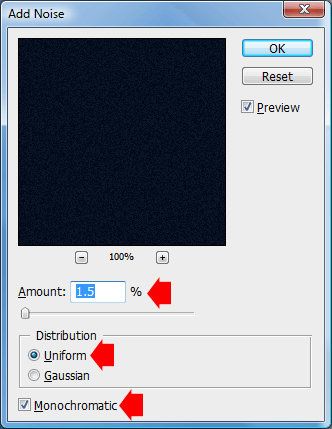
Were now going to add some noise to our background using the noise filter. Make sure your background layer is selected then go to “Filter > Noise > Add Noise”, Use the settings listed below.

Once you’ve added the noise filter select the rectangular marquee tool and make a selection from the top of the canvas. Make the selection about 300 pixels in height.

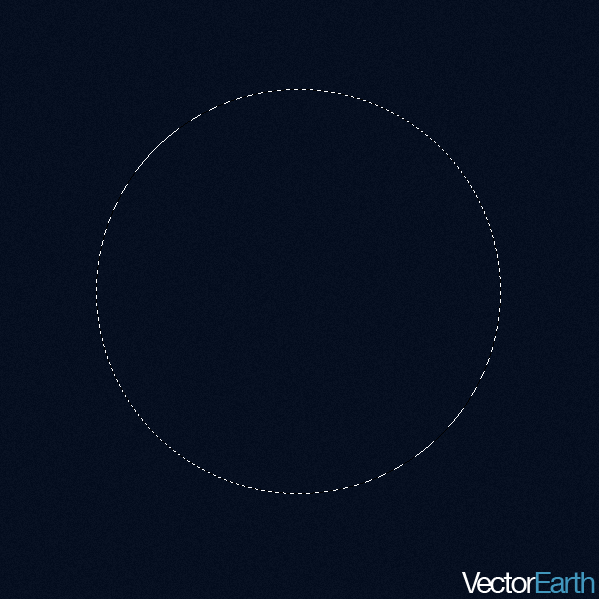
Create a new layer above your background layer then fill the selection with the color #05111b. Add the noise filter to the selection using the same settings as before. You should have something like this.

Finally create a new layer above your background and rectangle layers then select the rectangular marquee tool.
With the rectangular marquee tool selected make two 1 pixel lines on top of each other. Fill the first one in the color black (#000000) then the second line in a light shade of blue (#1d456b). The two lines should span the width of the canvas and be placed directly underneath the dark blue rectangle.

You should have something like this.

Creating The Outer Rectangle
Select the rectangular marquee tool then make a selection within your guides (850px Wide). The selection should pretty much start about 100 px from the top all the way down to how ever big you want it, mine is quite big.

Once you’ve made the selection and your happy with it, create a new a layer and fill it with the color white (#ffffff).
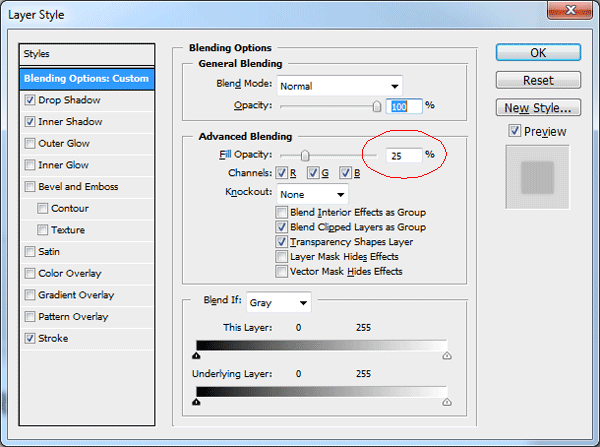
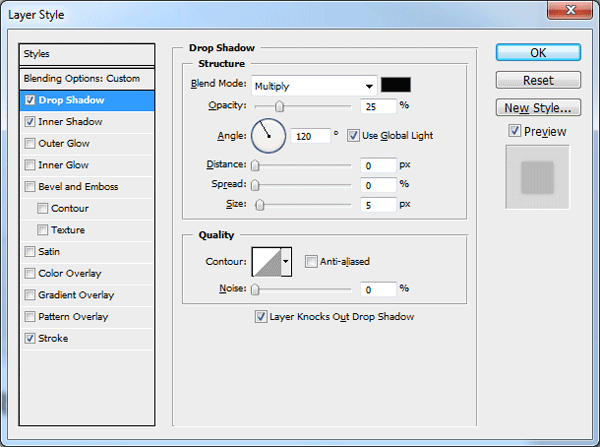
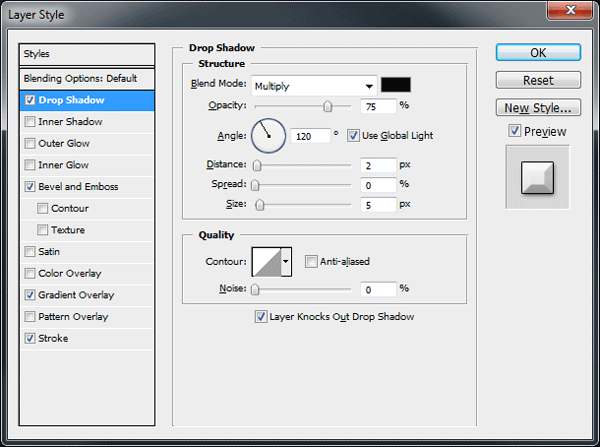
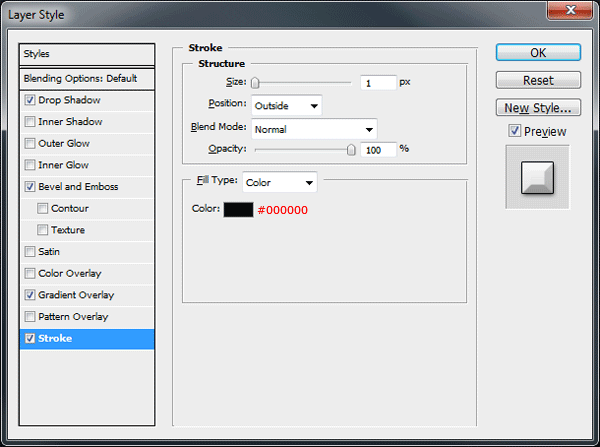
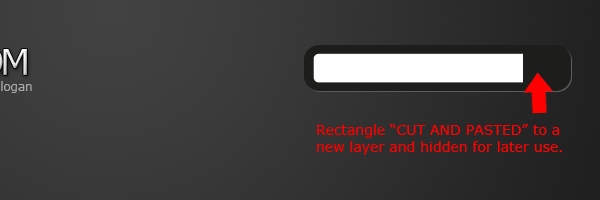
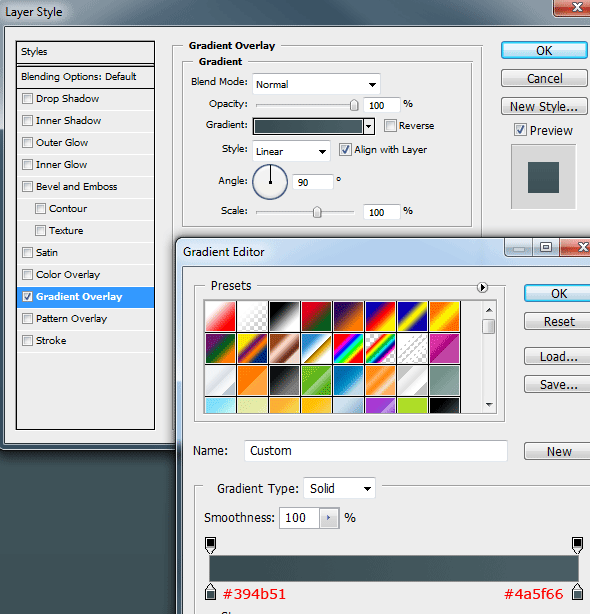
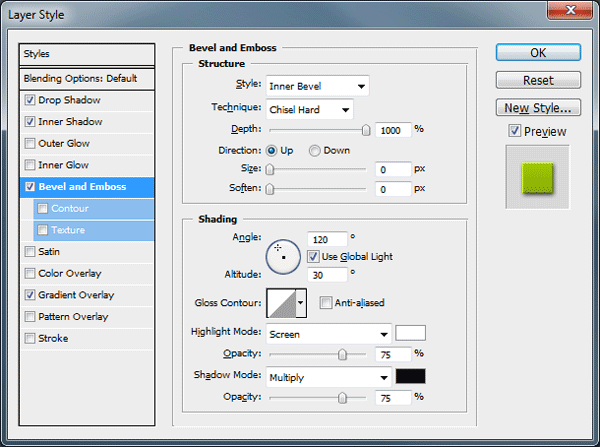
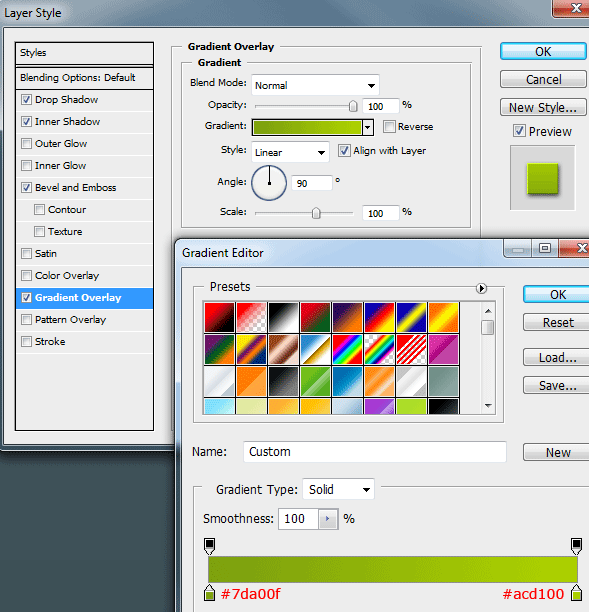
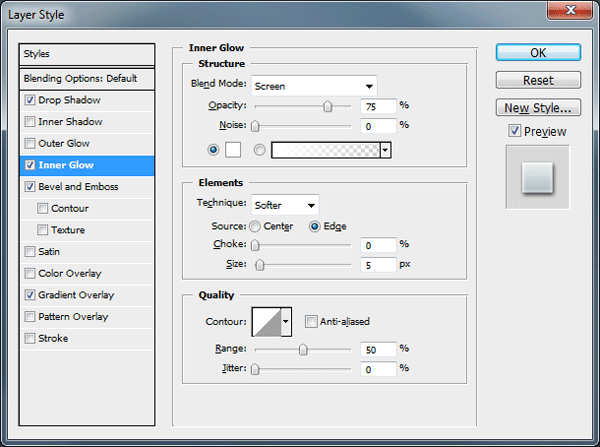
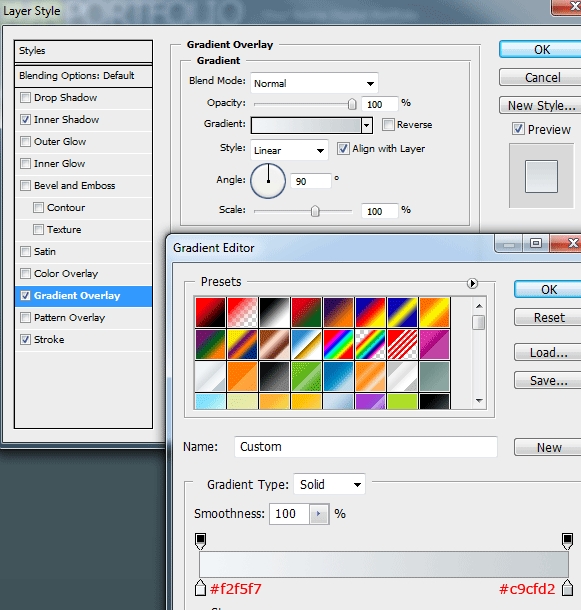
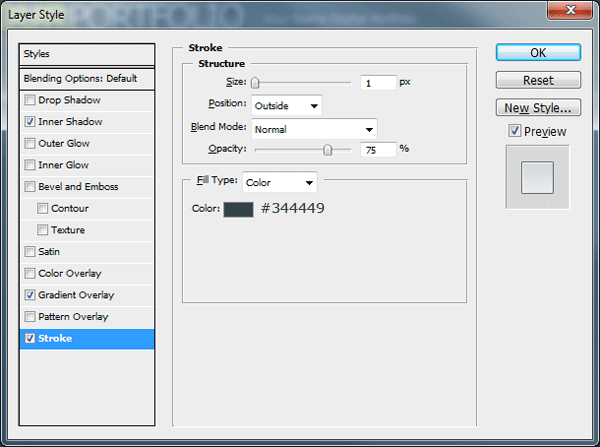
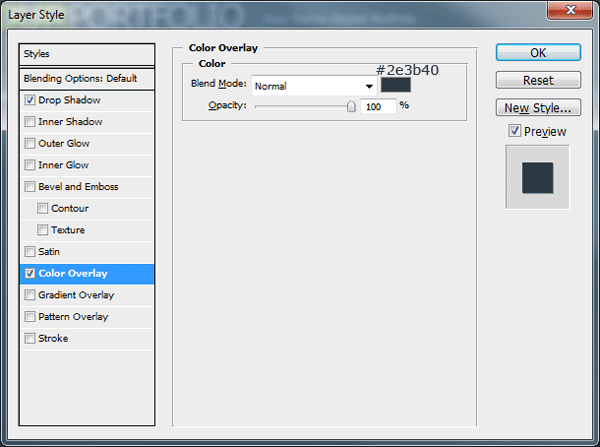
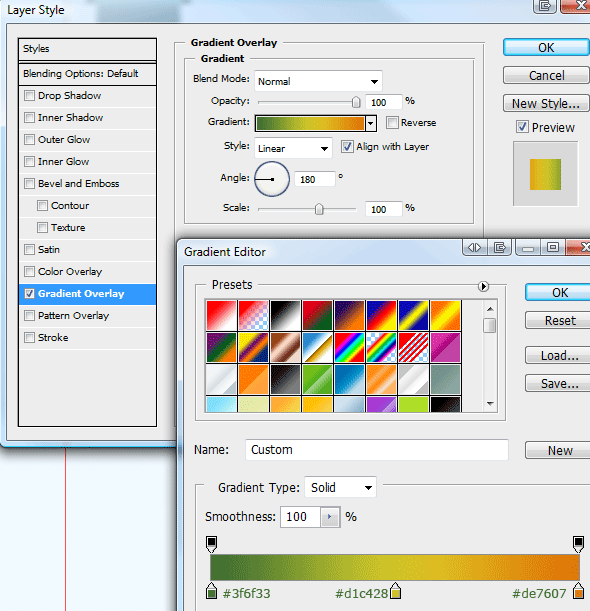
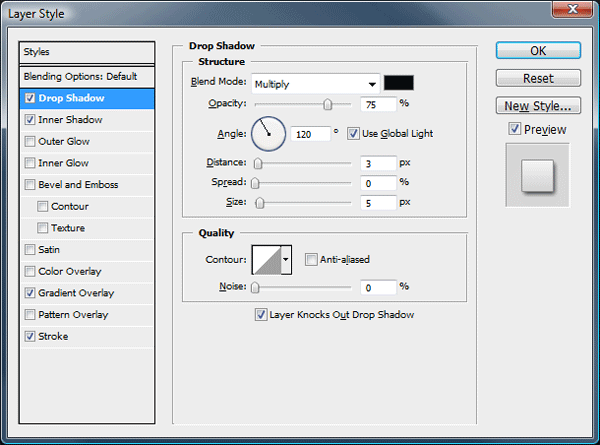
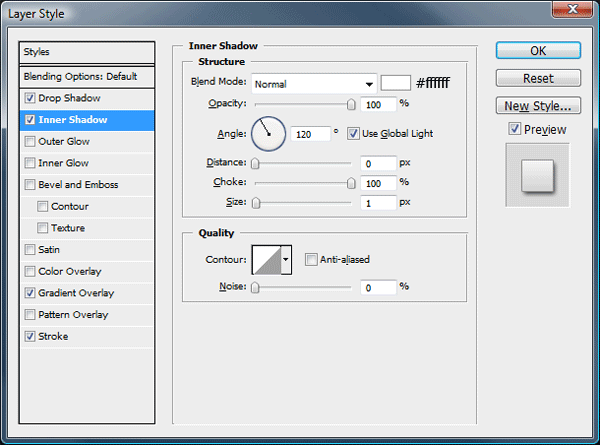
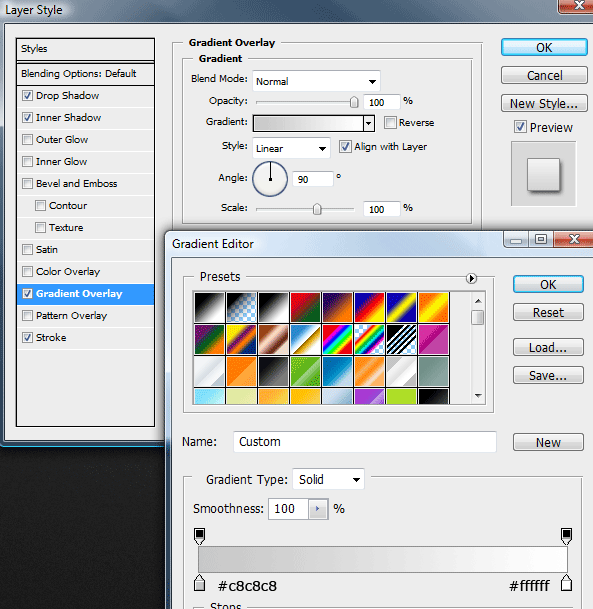
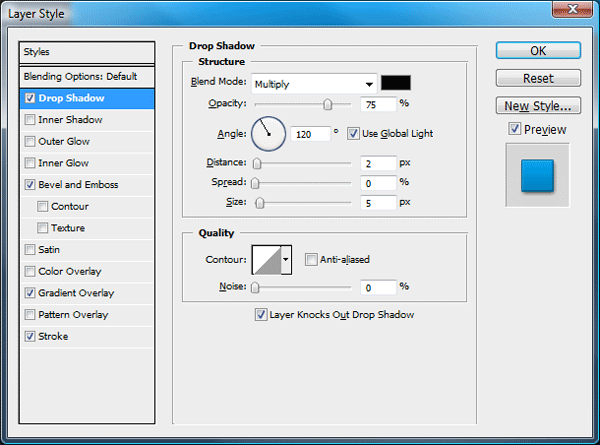
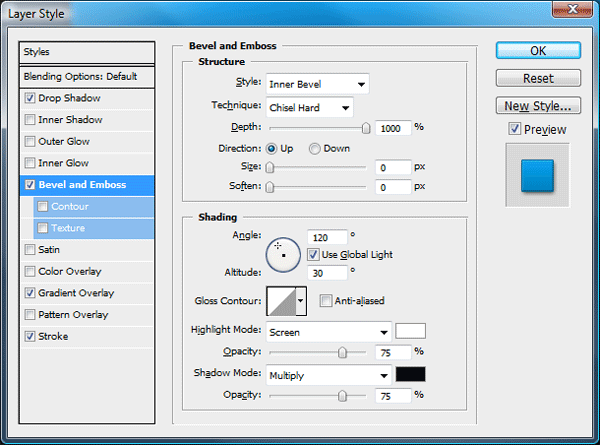
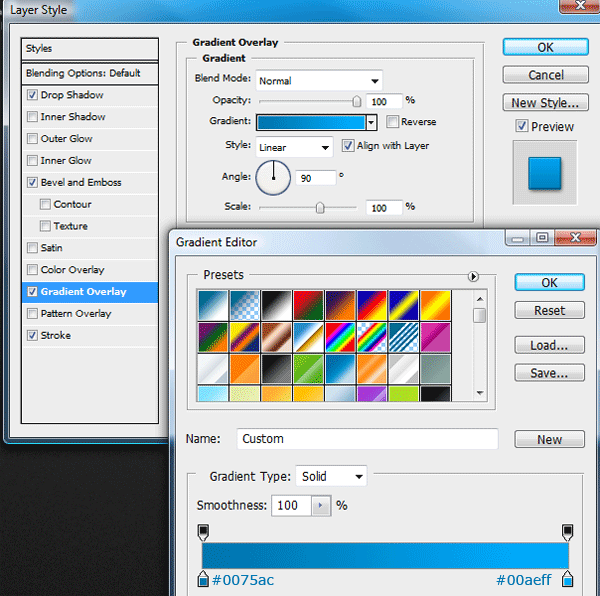
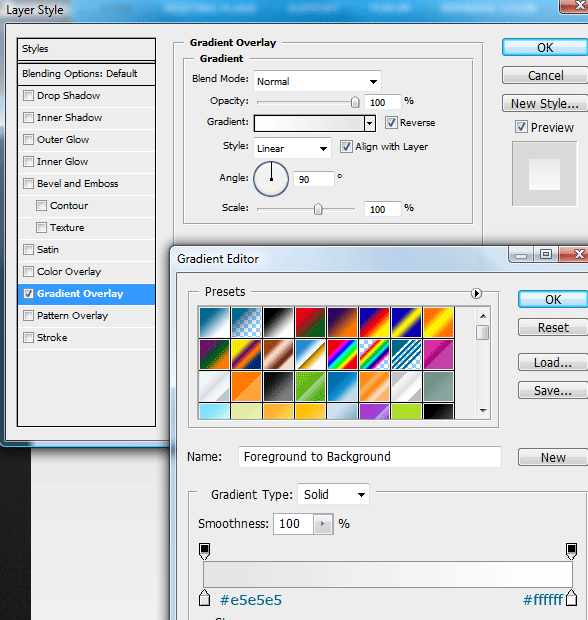
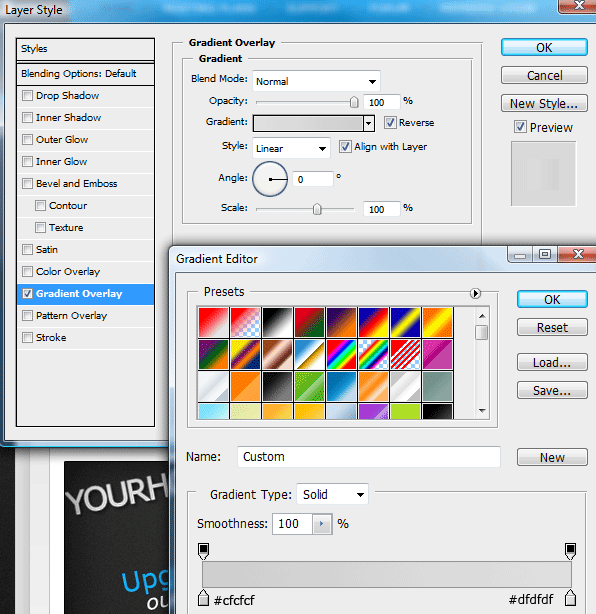
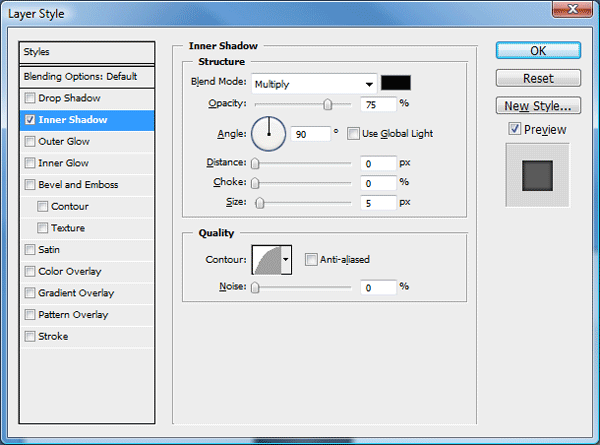
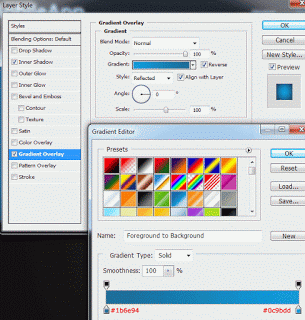
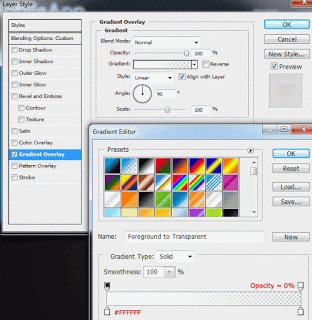
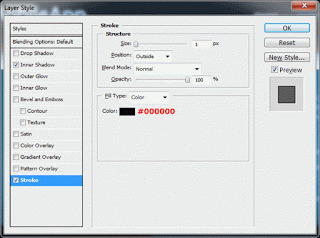
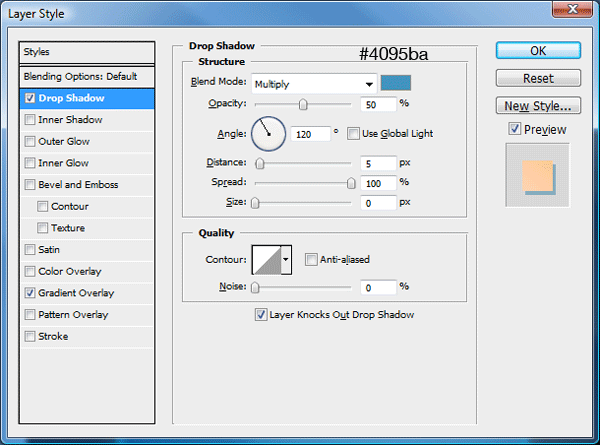
Were now going to make the outer rectangle slightly transparent, to do this add the following layer styles.


You should have something like this.

Creating The Content Rectangle
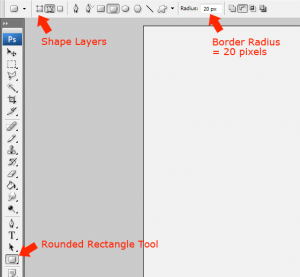
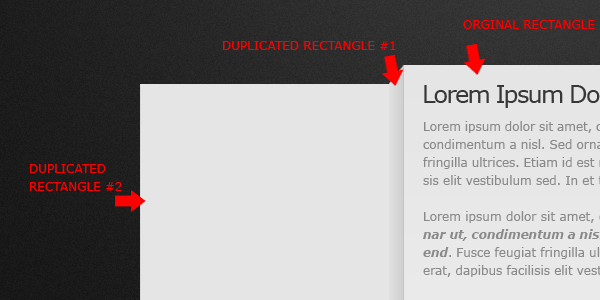
Load a selection around your outer rectangle by selecting the layer and going to “Select > Load Selection”. Once the selection is loaded contract the selection by 20px, to do this go to “Select > Modify > Contract”.
Your ads will be inserted here by
AdSense Now!.
Please go to the plugin admin page to paste your ad code.

Now that you’ve contracted the selection create a new layer above your outer rectangle layer and fill the selection in the color white (#ffffff).
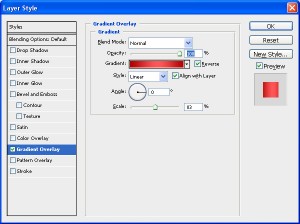
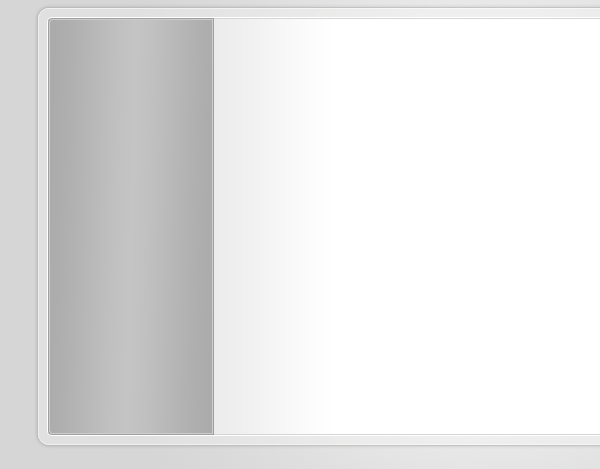
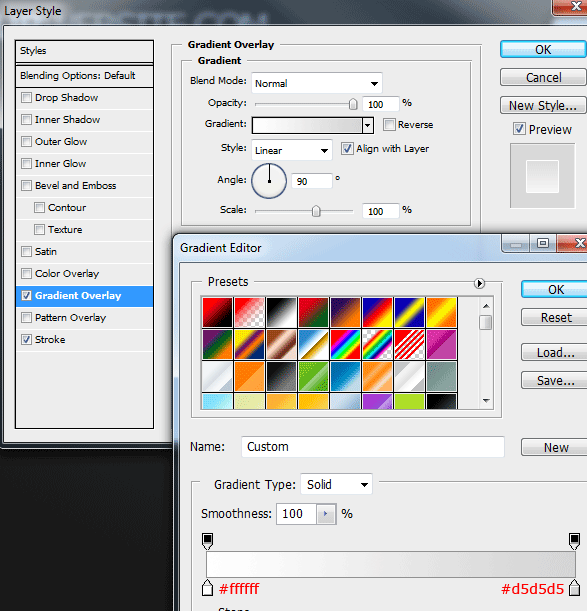
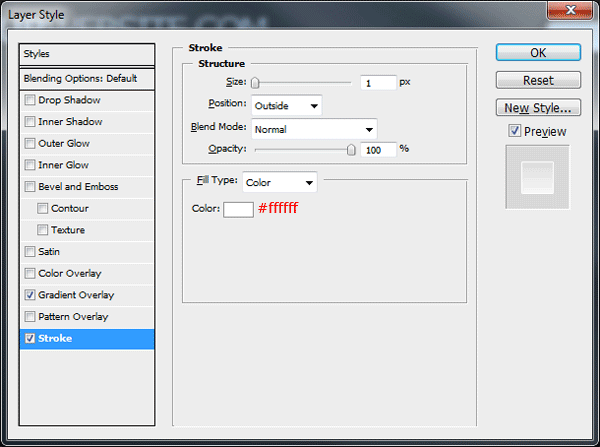
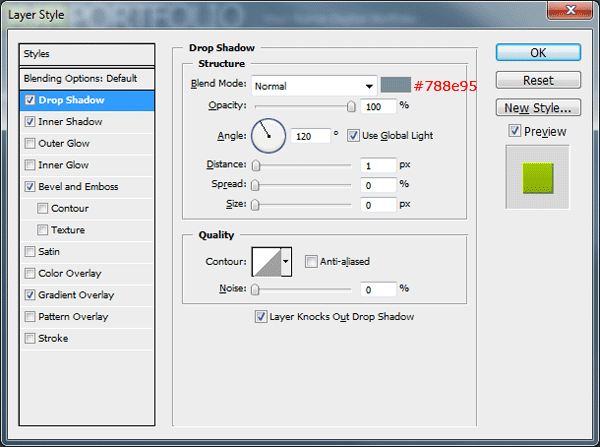
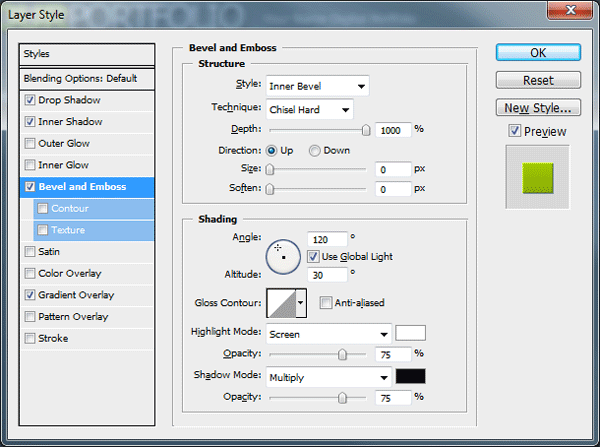
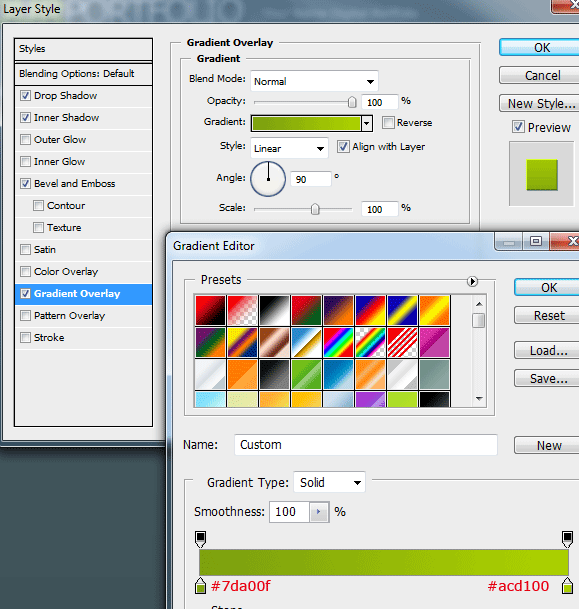
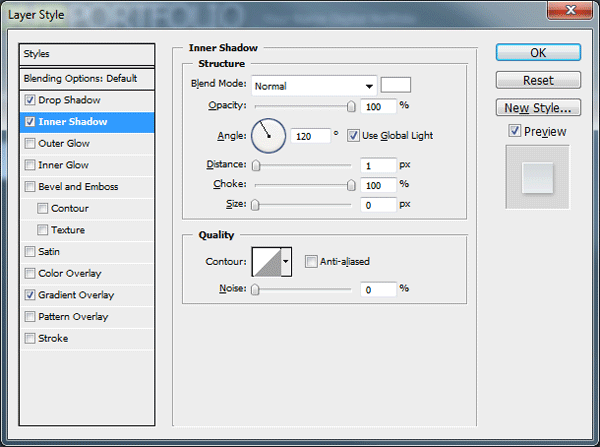
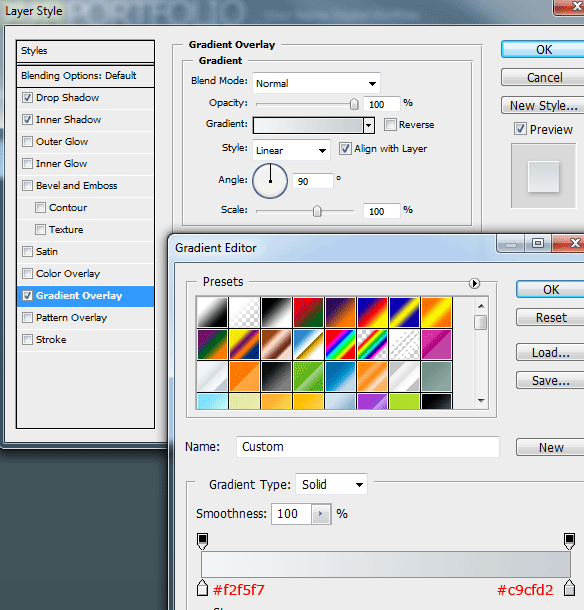
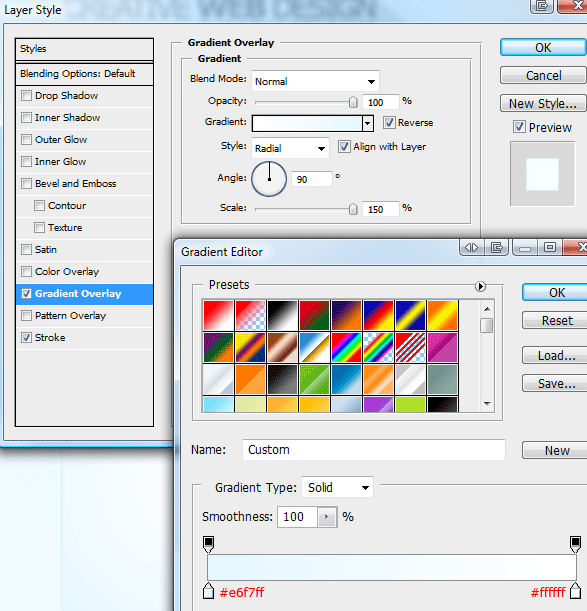
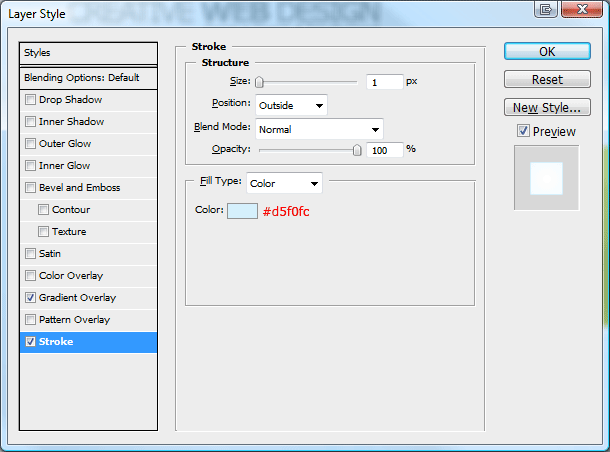
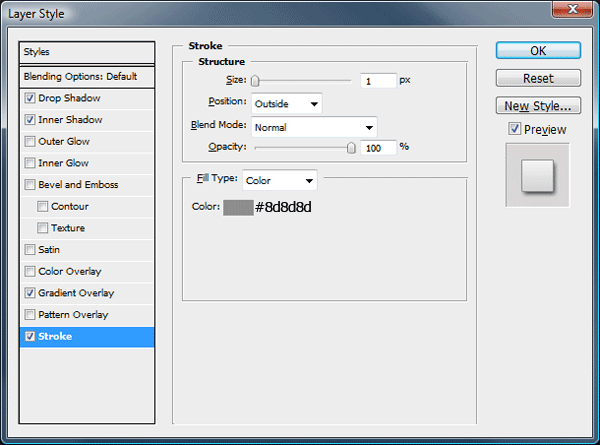
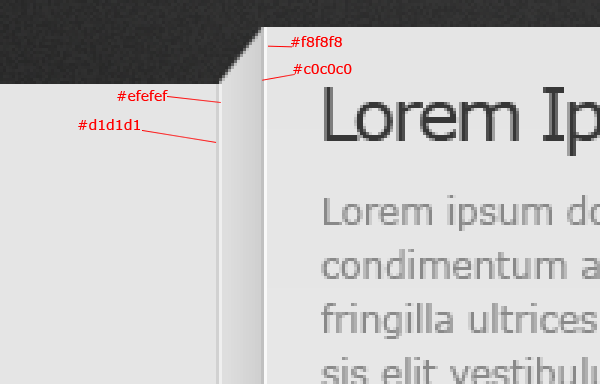
Now add the following layer styles to your content rectangle.


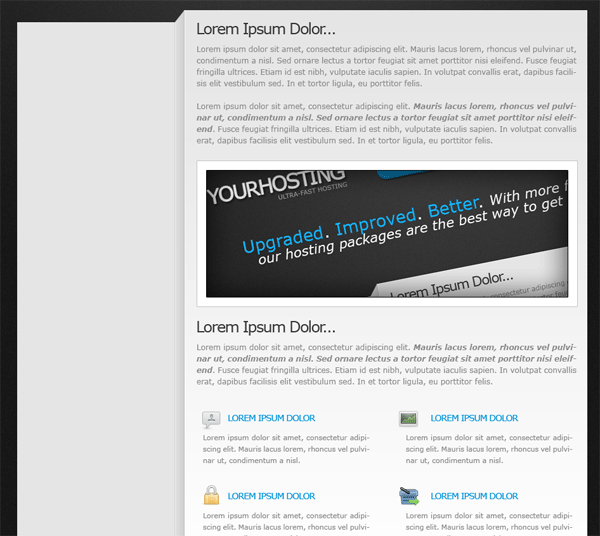
You should have something like this.

Adding Your CV Title
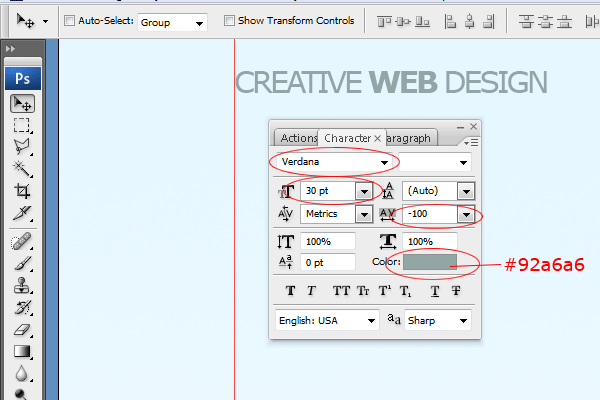
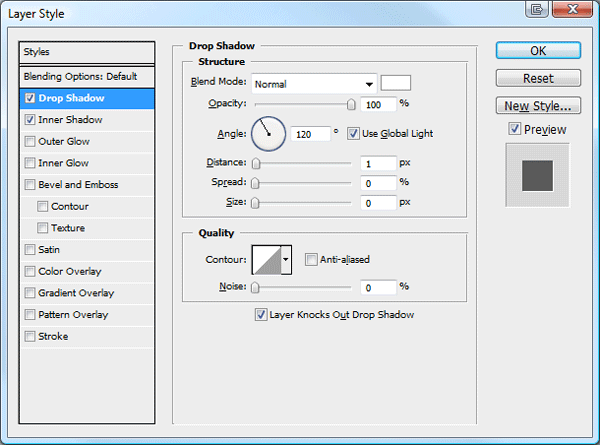
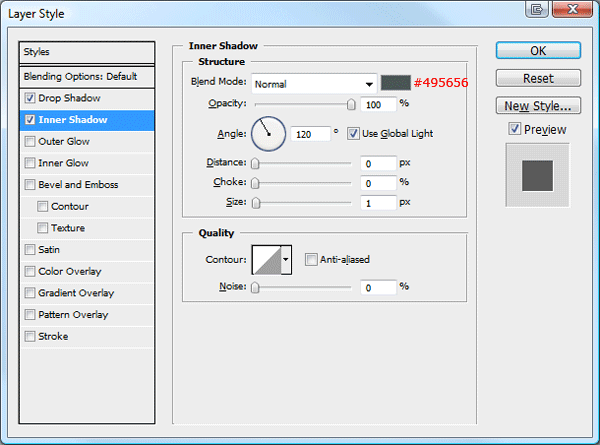
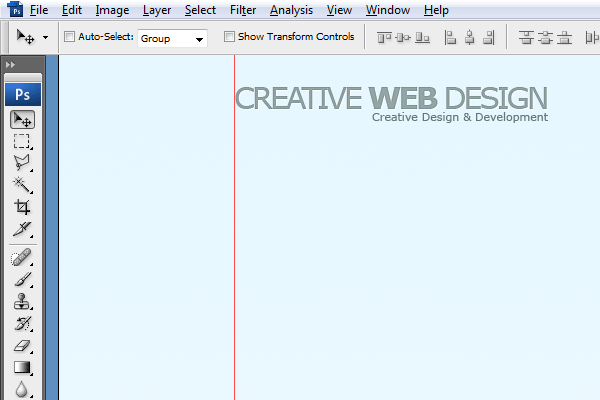
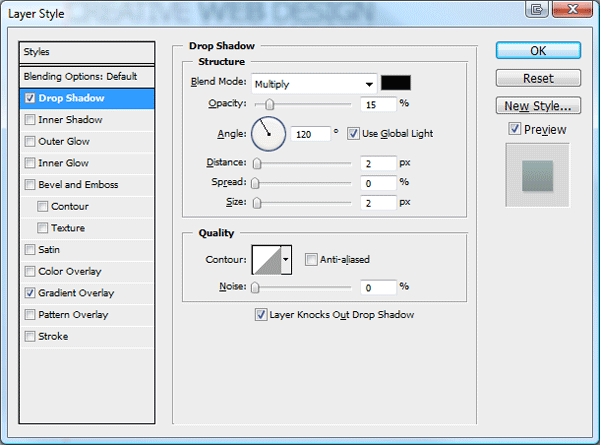
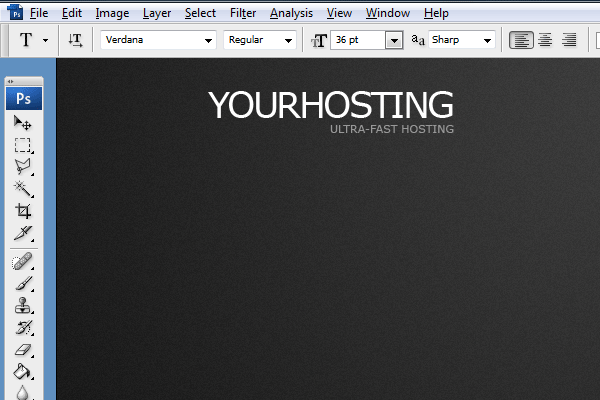
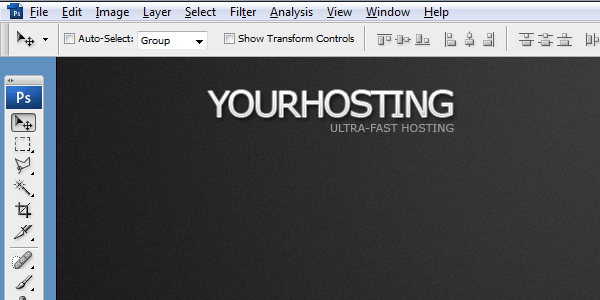
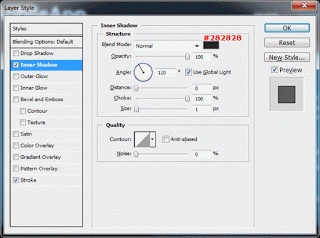
Select the type tool then in the top left corner add your name along with your description. The font i’m using is called “Myriad Pro”. Once you’ve added your name and description add a drop shadow to your name using the settings below.

Adding The Small Navigation
From the “Wefunction Icon Set” add a floppy disk icon, printer icon and mail icon to your canvas. Place each icon in the top right level with your name.

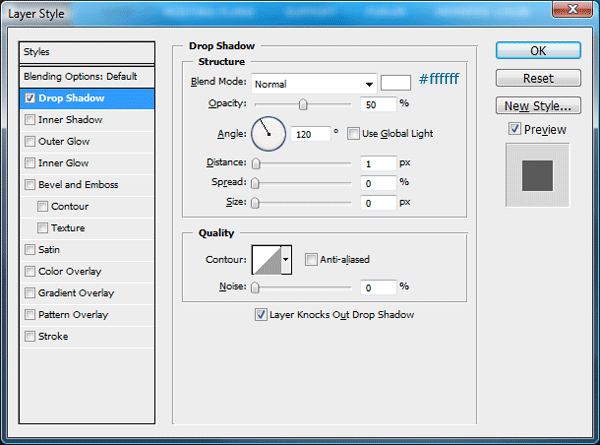
Underneath each icon add there labels, once you’ve added your labels add a drop shadow using the settings below.


Finishing Off The Header
Underneath your name and description add a couple of paragraphs about yourself and what makes you so special.

Now select the rectangular marquee tool and create two 1 pixel lines on top of each other. The lines should span the width of the content rectangle.
Fill the top line in black (#000000) and bottom line in white (#ffffff) once you’ve filled the lines set the “Blend Mode” to “Overlay”.

You should have something like this.

Adding Your Content
Underneath the dividing line add your first CV entry, i’ve chosen to list my technical skills first.

Next, add the “circle_blue.png” icon from the “Wefunction Icon Set” underneath your main section title. The blue circle will be our bullet point.
Next to the bullet point add a secondary title explaining your skill, how many years experience and whether your beginner, intermediate or advanced.

Finally add your description explaining about the skills.

Continue With The Style
Continue following the same styles above for each of your entries.


My Social Network
Once you’ve added all your CV information create a new title called “My Social Network”, under this heading you could list all the digital places you regularly socialize with.
Use the icons from the “Aquacticus Social Icon Pack“.

That’s it all done your digital CV should be finished. Thanks for reading, I’ll look forward to all your comments.
Learn To Convert This Layout
Learn how to convert this layout into a working HTML/CSS Template by Clicking Here
Your ads will be inserted here by
AdSense Now!.
Please go to the plugin admin page to paste your ad code.


