Your ads will be inserted here by
AdSense Now!.
Please go to the plugin admin page to paste your ad code.
In this quick article i’l be showing you how to maximize your work space when working on more than one piece of artwork within photoshop.
If your the kind of person who likes spending time retouching photo’s or creating wacky photo manipulations you will know how annoying it is when you have to keep zooming in and out to check on your progress.
Wouldn’t it be nice if you could work on one photo zoomed in at 500%, yet still see the result at 100%. Well you actually can, and il show you how.
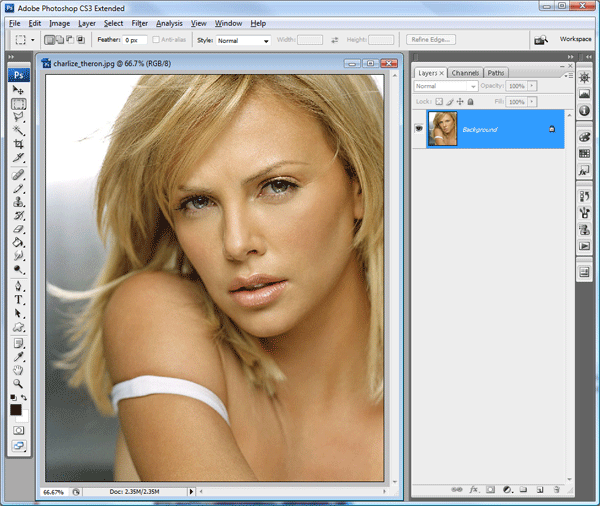
Open Up Your Document
In photoshop i’ve opened up an image of charlize theron (just for this example).
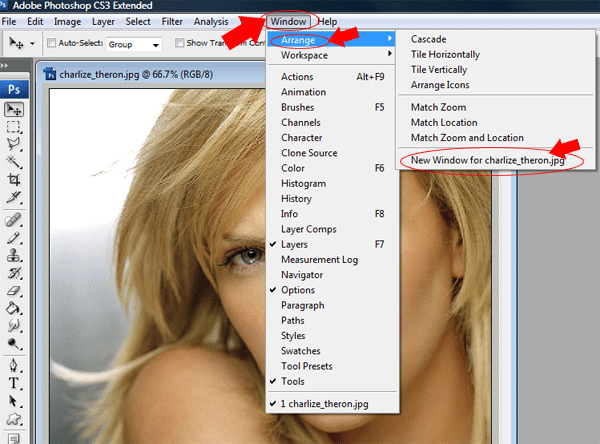
Duplicating The Window
Now we have our image open lets duplicate the window, to do this we need to go to “window” in the menu bar.

Go to “arrange” then at the bottom click “new window for “file name here”.
Providing your document window is not maximized you should have two windows. If it is maximized just restore it down.

Tiling The Document Window
Your ads will be inserted here by
AdSense Now!.
Please go to the plugin admin page to paste your ad code.
If you head back into the “window” options under the arrange tab you have two options for tiling the document windows, horizontally and vertically.
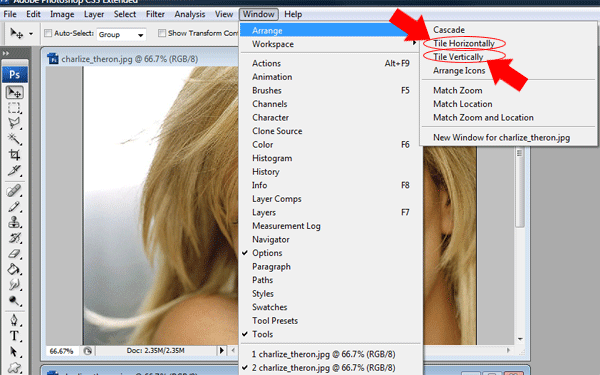
Tiling Vertically
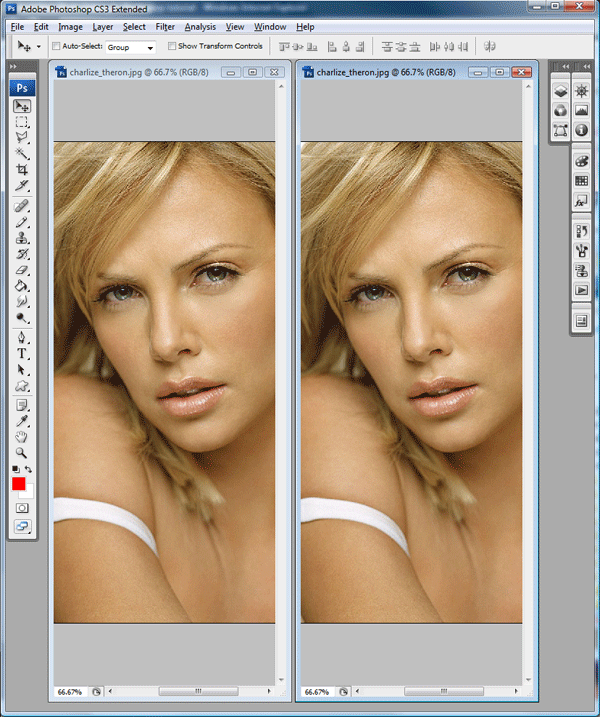
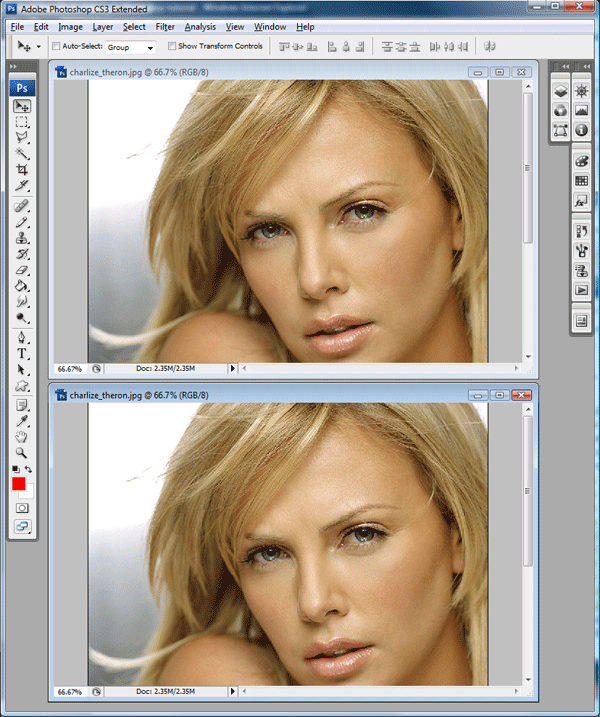
If you click “tile vertically” your windows will be displayed like this.
Tiling Horizontally
If you click “tile horizontally” your windows will be displayed like this.
Free Too Zoom
Each window can be zoomed and edited differently but the overall result will be applied to whole image. For example if i were to change her eye color.
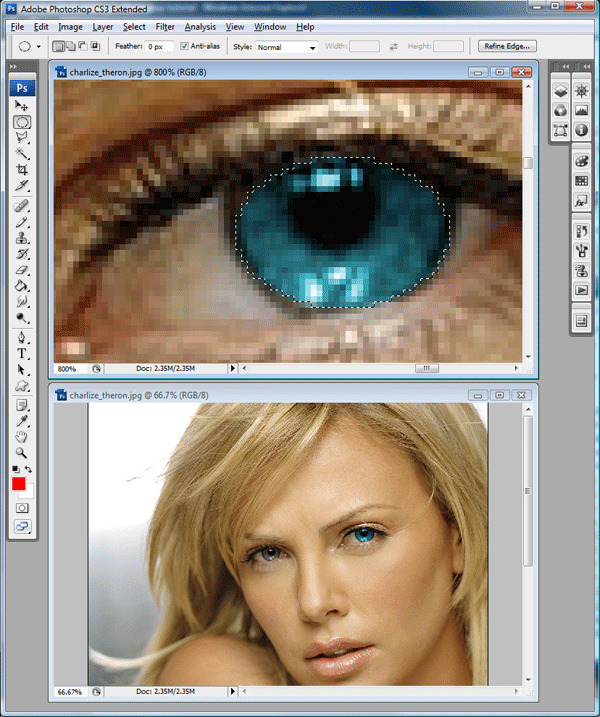
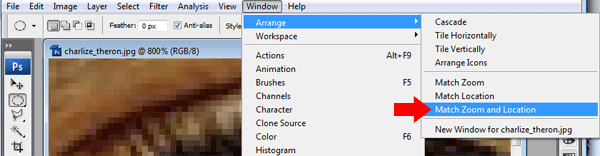
The changes are made in the top window and its updated in the bottom window, notice the zoom levels of each window. If you would like the zoom level to be the same in both windows you can simply go to “window > arrange > match zoom level”.
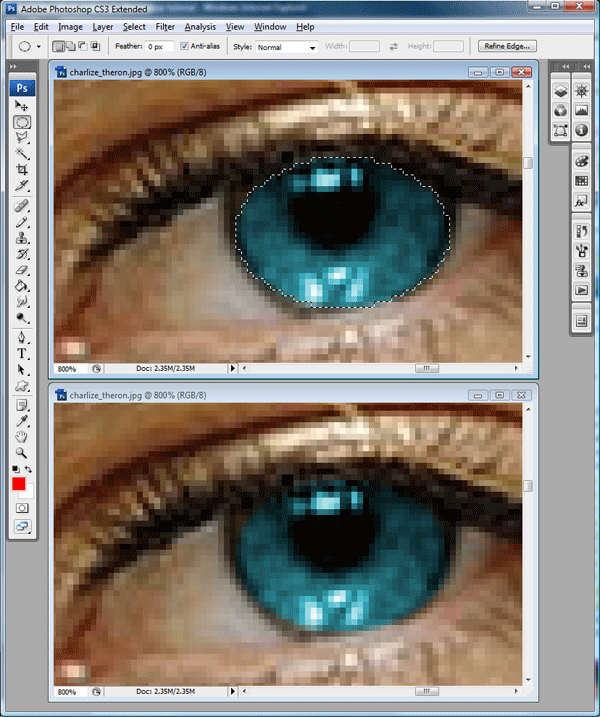
You can also match the windows location by going to “window > arrange > match location”, there is also an option to do both at the same time by clicking “match zoom and location”.
Additional Notes
For those using photoshop CS4 i do believe there may be more options to choose from and more views to choose from, more than likely any photoshop version under cs3 will be the same as this article.
Your ads will be inserted here by
AdSense Now!.
Please go to the plugin admin page to paste your ad code.