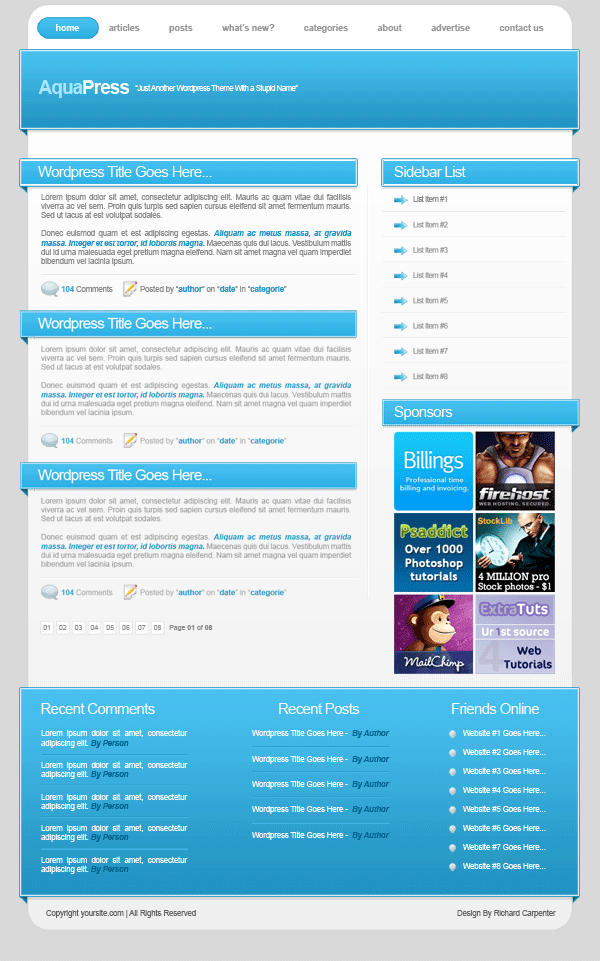
WordPress Layout #5
Hello everybody, welcome to tutorial 212. In this tutorial we’ll be creating a wordpress mockup layout with some 3D elements to it.
Setting Up Our Canvas
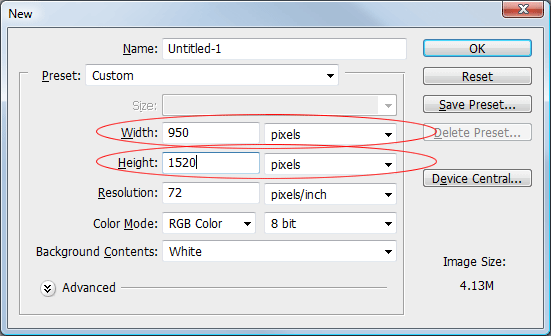
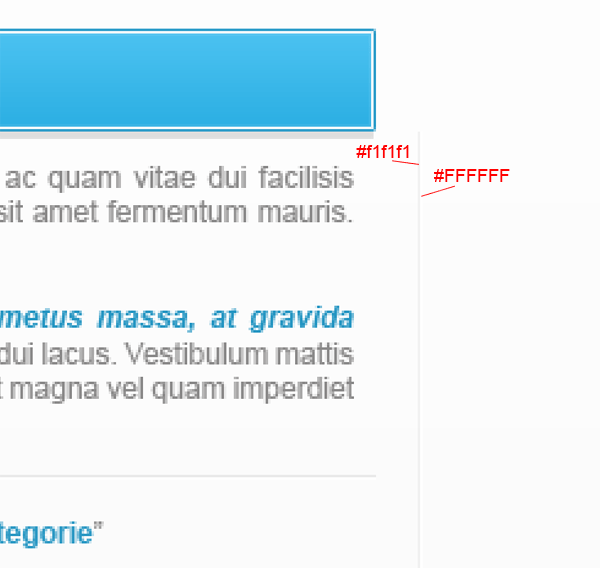
WordPress layouts tend to be quite big in length so we’ll start of with a canvas size of 950 x 1520 pixels.
Using the paint bucket tool fill your background layer with the color #d9d9d9.
Creating Our Content Area
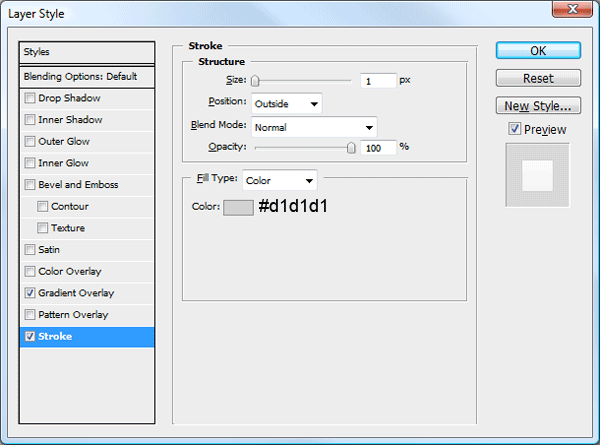
Select the rounded rectangle tool with a radius of 30pixels.
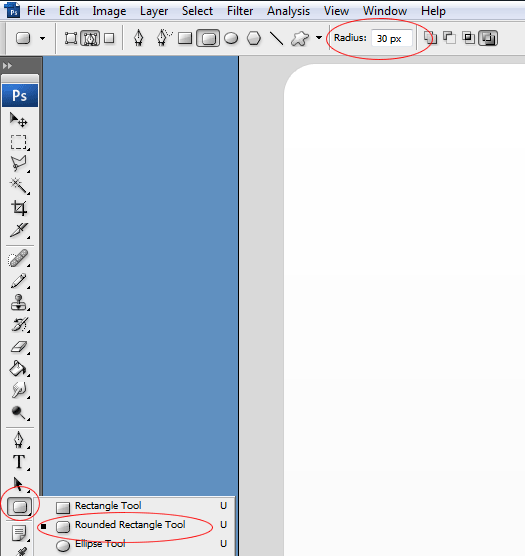
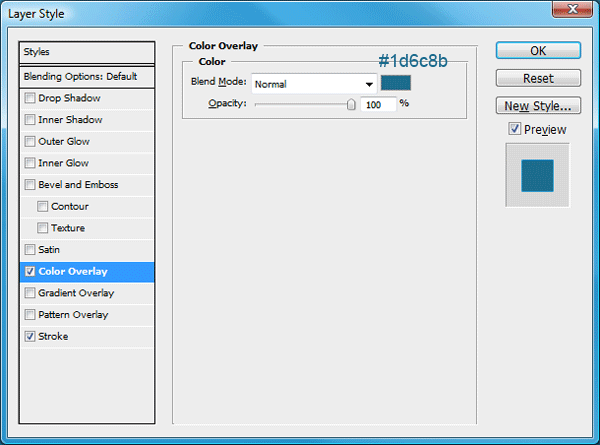
On a new layer draw out a rectangle a little bit smaller than the actual canvas.
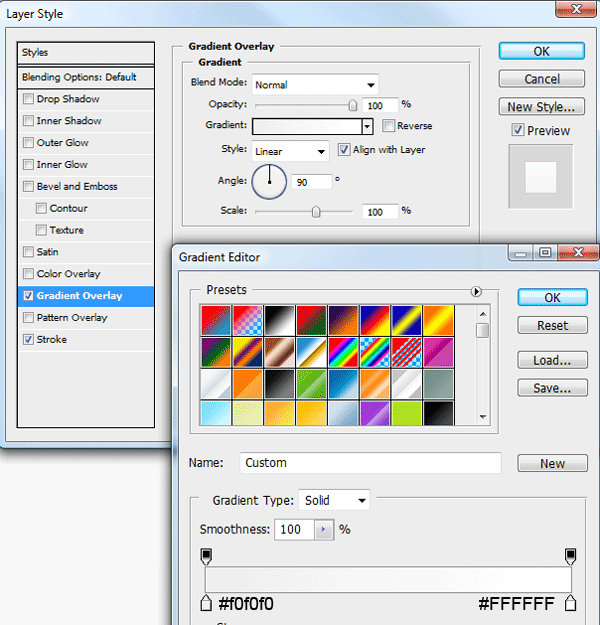
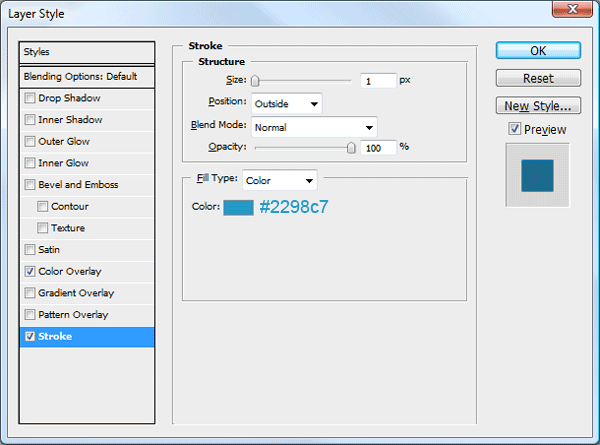
Add these layer styles to your rounded rectangle.
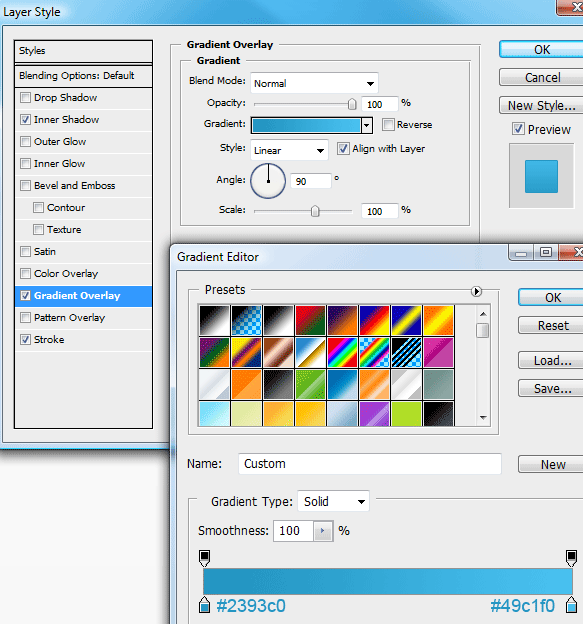
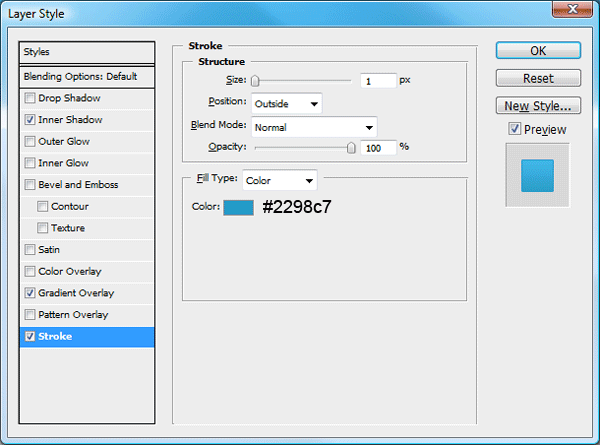
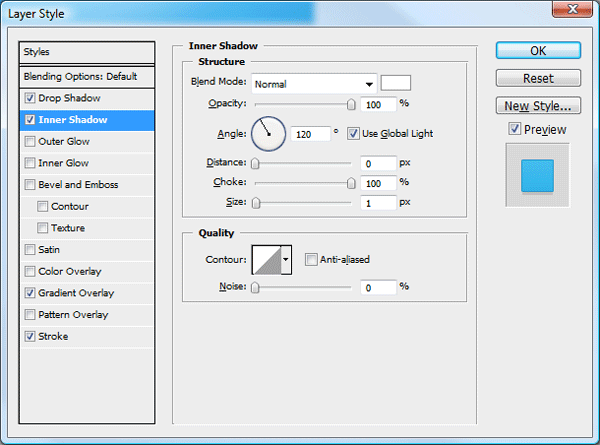
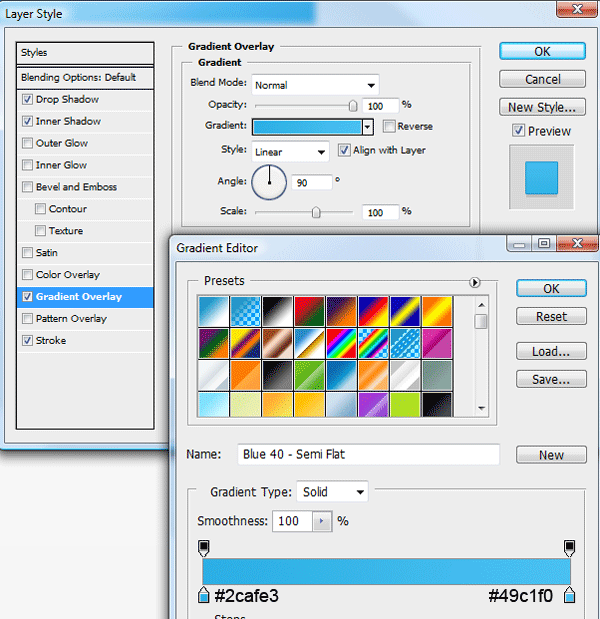
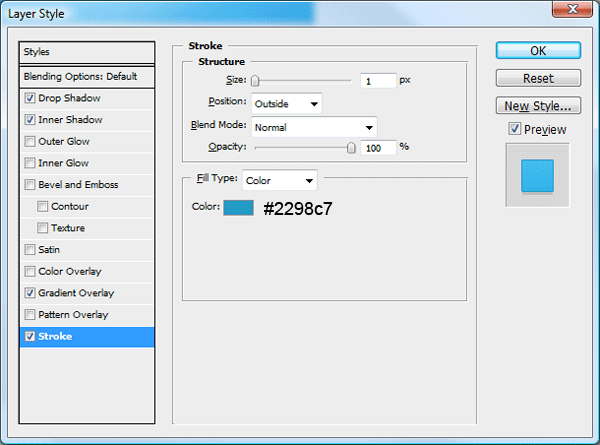
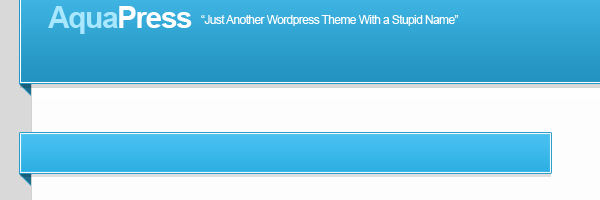
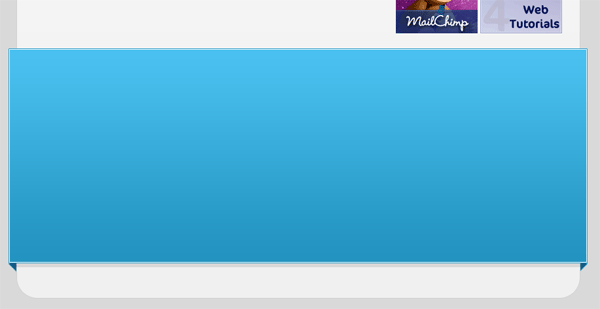
Creating The Header
Select the rectangular marquee tool, then make a selection across the top half of your rounded rectangle. The rectangle should be about 123 pixels in height and wider than your rounded rectangle.
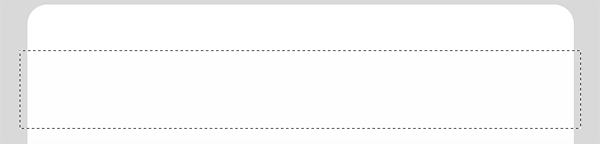
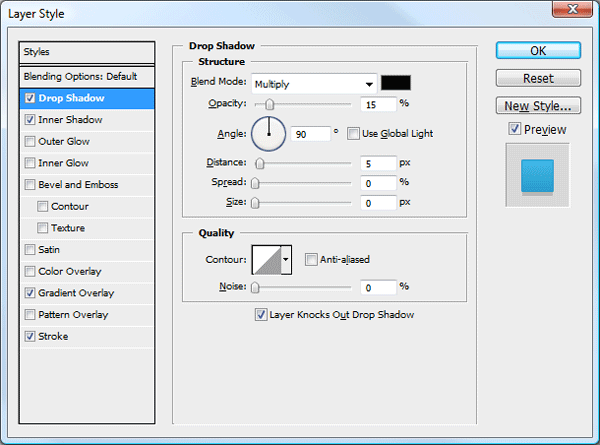
Fill the selection with any color than add these layer styles.
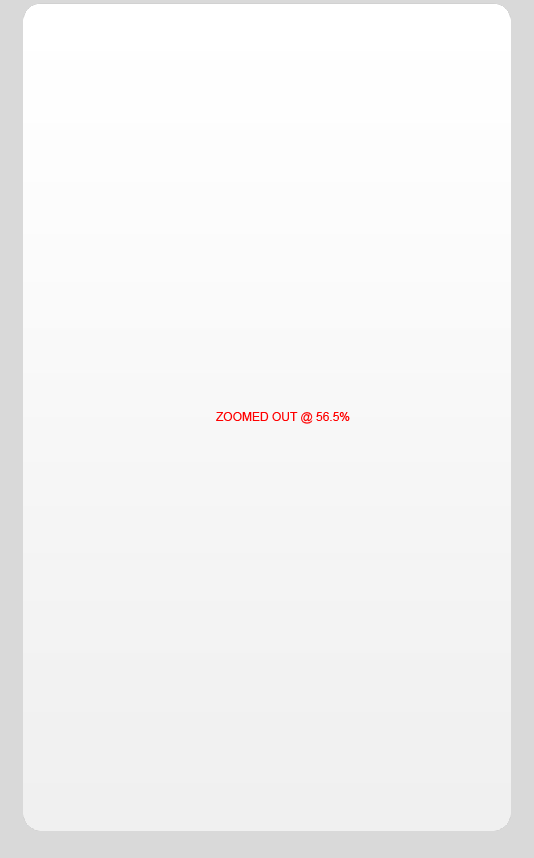
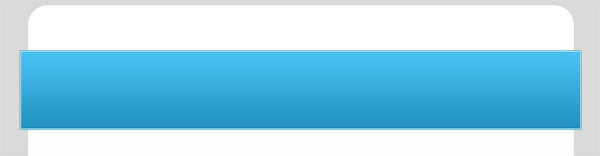
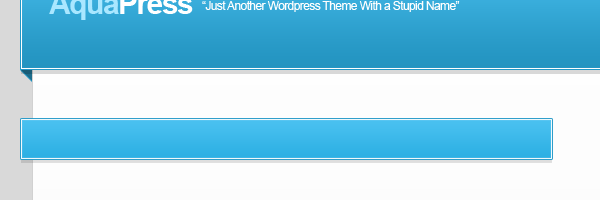
You should have something like this.
On the left and right sides where the header is bigger than the content area, using the polygonal lasso tool make a selection like the image below.
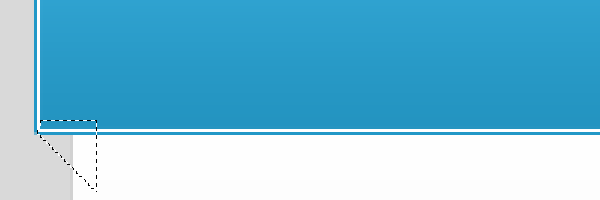
Fill the selection on a new layer underneath your big rounded rectangle using any color. Then add these layer styles.
Once you’ve done both corners you should have something like this.

Inside your rectangle that you just created add your wordpress theme title and slogan. Above the header add a simple text navigation, to represent a hover state add a blue rounded rectangle to one of the links.

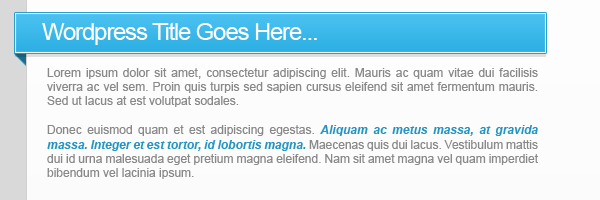
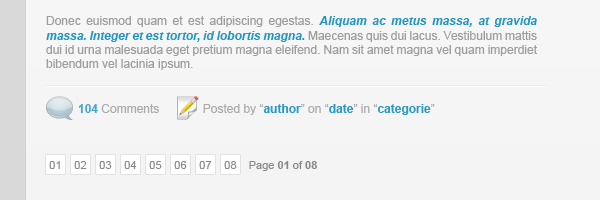
Creating A WordPress Post
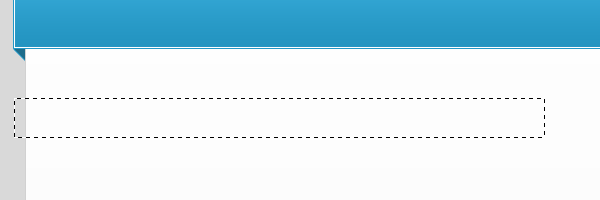
Using the rectangular marquee tool make a selection underneath your header, the selection should overlap the content area by the same amount of pixels as the header did. The selection should end just past the middle of the content area leaving enough space for a sidebar.
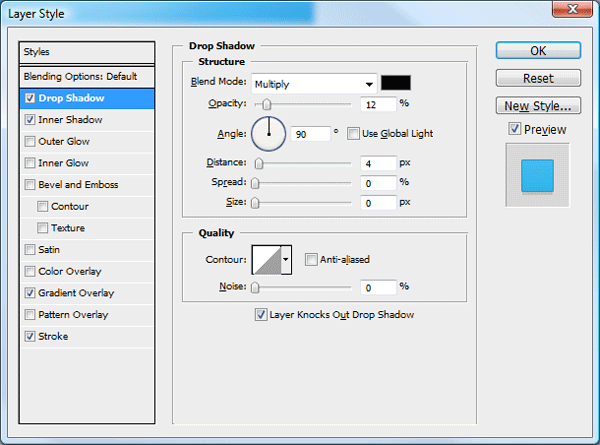
Fill the selection with any color than add these layer styles.
You should have something like this.
Using the polygonal lasso tool add the little corner peice on the left side where the rectangle hangs over the content area using the same method and layer styles as the corner piece on the header.
In the rectangle you just created add your desired wordpress dummy title. Underneath your rectangle add your wordpress dummy text.
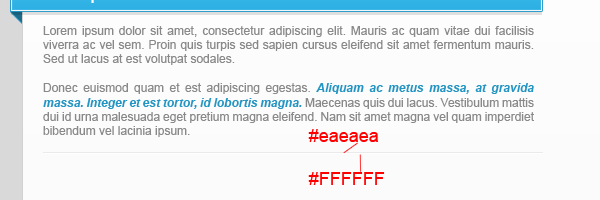
Directly underneath the post dummy text add a seperator. The seperator is done by creating two 1 pixel lines on top of each other, the bottom line should always be white or the lighest shade of a color, the dark color should always be on top. This gives the line and indented look.
Underneath your line add some post meta data, along with some spliffy icons from “wefunction”.
Using the steps and methods above create two more example wordpress posts. You should have something like this.
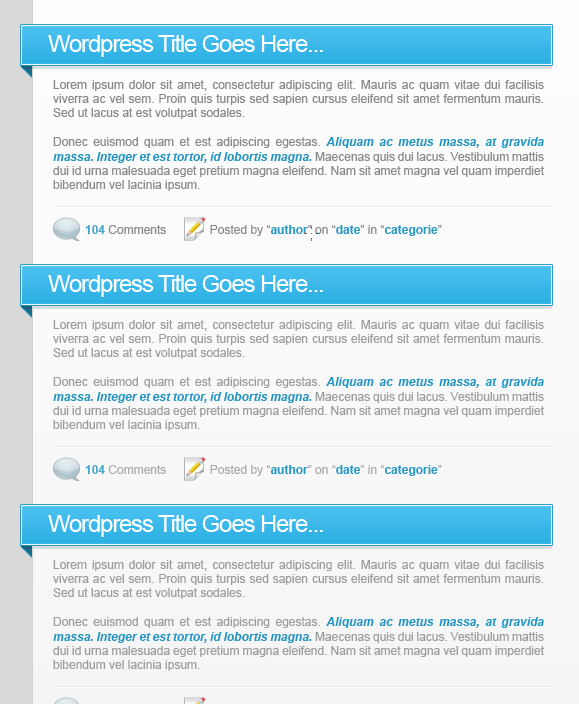
After the very last post create a couple of white squares with a subtle stroke added to them for a simple pagination.
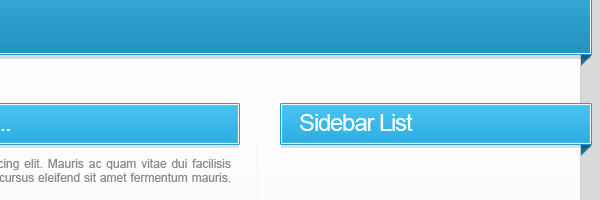
Creating The Sidebar
Before we create our sidebar lets create a subtle divider to seperate our sidebar from our main content. Using the rectangular marquee tool create two 1 pixel lines just like we did our wordpress posts only this time create them vertically instead of horizontally.
Stretch the divider all the way down to where the content ends. In the same way we created our wordpress post title area create exactly the same for our sidebar title area. This time add the corner peice to the right.
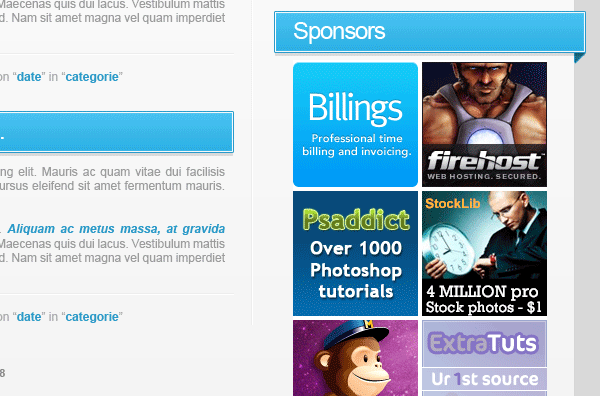
Using a combination of a seperators and a small icons from “wefunction” create a simple list underneath the first sidebar title.

Build up your sidebar with your sidebar items, ive just added a simple sponsors section to finish mine off.
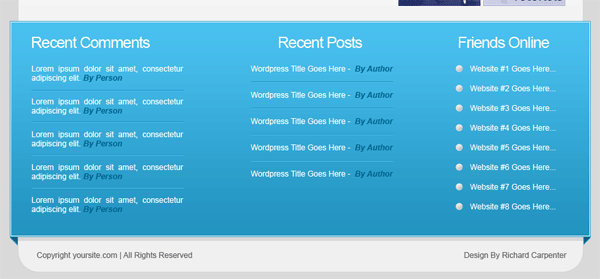
Creating The Footer
On this layout were going to create a fairly big footer, duplicate your header and the left and right triangle peices then drag them to the bottom. Press CTRL + T and resize the height of the footer, adjust the corner peices to match.
In the space thats left directly underneath the footer add your copyright info. Actually on the footer add a couple of simple lists, to display dummy widgets like recent comments, recent posts etc..
You should now have completed the tutorial and have something like this.
Thats it all done, hope you enjoyed this tutorial. Dont forget to subscribe via rss and twitter.