


September 30th, 2007 in Photoshop Tutorials by Richard Carpenter
Virtual Car Tutorial

 8 Votes, Rating: 4.00
In this tutorial i will show you how to do your first “virtual car” using simple basic methods the topics we will be covering are,
- Lowering
- Changing the wheels
- Tinting windows
- Adding an intercooler
- Smoothing
If you want to use my image that i am using GET IT HERE.
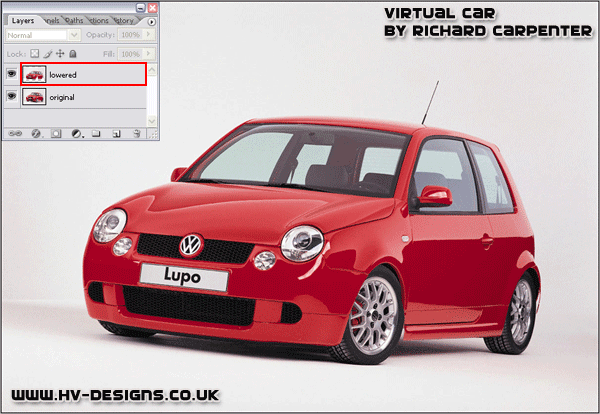
Right lets get started. Goto “layer > new > background from layer” name your layer “original”
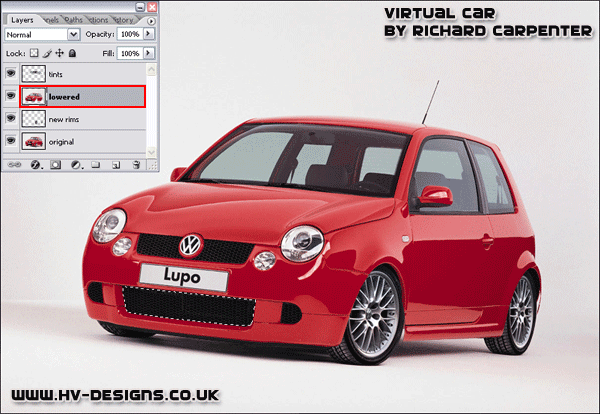
Select your layer and lower your car, ive already written a tutorial on lowering so go find and do my lowering tutorial. Dont make it stupidly low, Once lowered you should have something like this.
Once lowered lets add our new alloys, now im not going to do everything for you so your going to have to find your own alloys. you can find loads of donor images from google. once you have your image select the “pen tool” and draw around the face of the tyre, copy & paste it onto your image. Now more than likely your wheels will be bigger than your original wheels so press “CTRL + T” to transform them, resize them and move them into place like this.
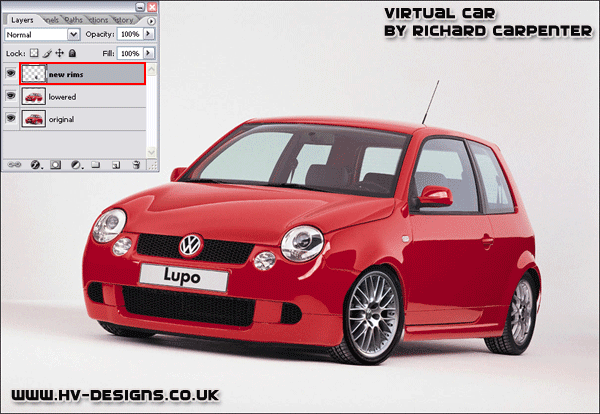
Now duplicate the layer your new wheel is on to make another wheel for the back, press “CTRL + T” to resize and move into place. Once there in there correct postions select your very 1st layer and press “CTRL + E” which will merge them together. You will also notice the tyre hangs over the image so just select your wheels layer and move under your “lowered layer”. you should have something like this.
Now lets tint the windows, select your “pen tool” and draw around your windows.
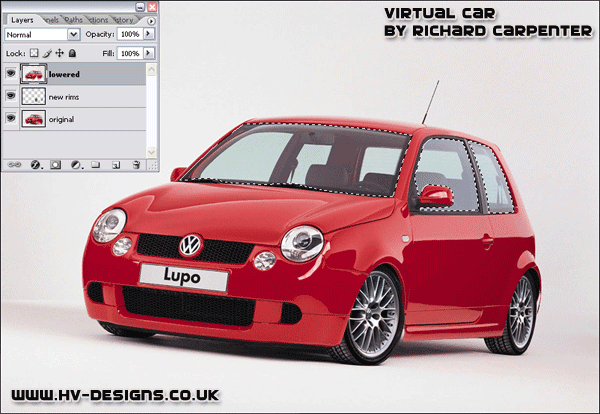
Then copy and paste to a new layer and label layer “tints” then goto “image > adjustments > brightness/contrast” and change brightness to -30. you should then have something like this.
Now lets add an intercooler, now as i said before your going to have to find your own donor parts.
Select your “lowered layer” and select your “pen tool” and draw around where thee intercooler shall go.
Then hit your “delete key” on the keyboard then with the selection still active make a new layer under your “lowered layer” and label it black, then fill with the color black using the “paint bucket tool”
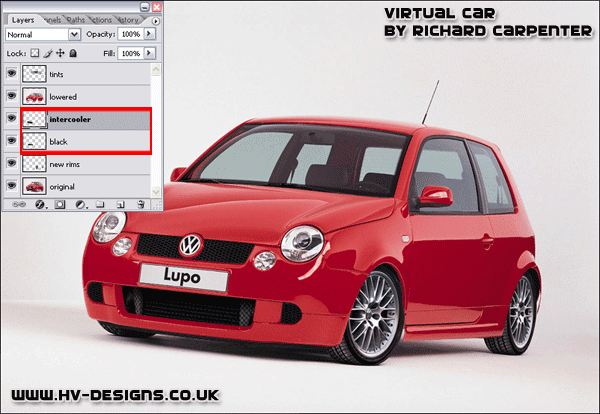
Cut your intercooler from your donor image then copy & paste it onto a new layer above your “black” layer, name this new layer intercooler. Press “CTRL + T” to resize and rotate into place, you should have something like this.
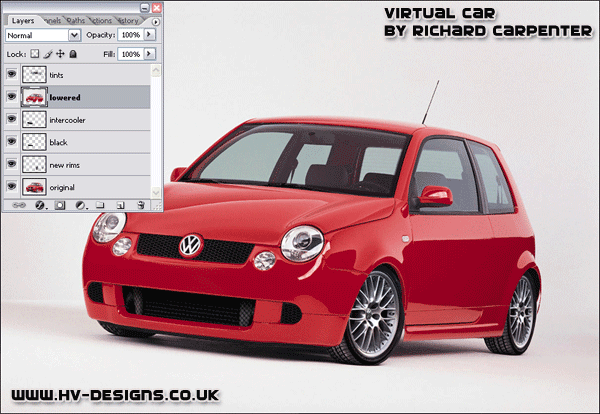
Now lets do abit of smoothing, ive already wrote a tutorial on smoothing so go find and do my smoothing tutorial then smooth off the door handels and number plate recess on your virtual car, if successful you should have something like this.
Now the next thing to do is touch ups you will notice when we lowered it, it left gaps where the arches are.
Select your “orginal” layer and select your “paint brush” with a smallish brush just paint where the gaps are.
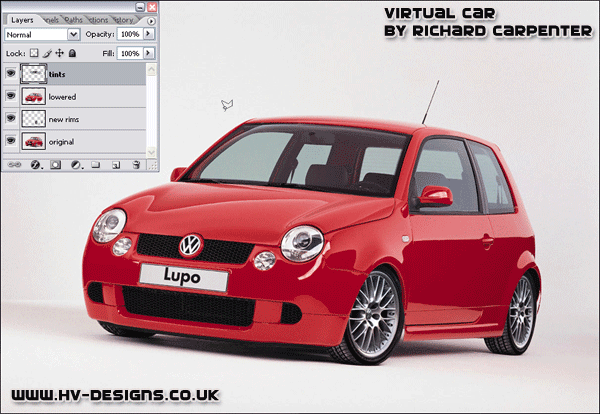
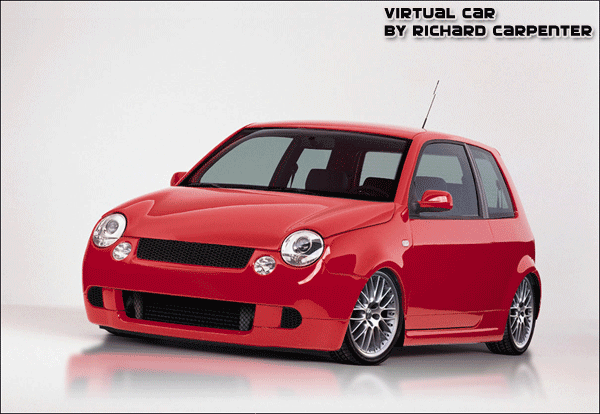
Thats it, hope you enjoyed my tutorial, now go do one on your own, but dont stop there use your imagination, who knows what you can come up with. heres my finished product.

Be Part Of The Community!
Become part of the hv-designs community.
Subscribe Via RSS or Follow Us On Twitter.


5 Responses to “Virtual Car Tutorial”