September 30th, 2007 in Photoshop Tutorials by Richard Carpenter
Old Photo Tutorial
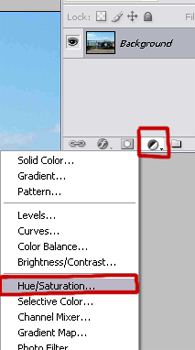
Load up your image in photoshop, Then start by clicking on the Create New Adjustment Layer icon at the bottom of the Layers palette and, from the pop-up menu, choose Hue/Saturation.

Turn on the Colorize checkbox in the Hue/Saturation dialog, and move the sliders to get the color tint you want, im going to use a light orangey color, my settings are below.

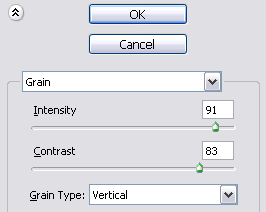
Create a new layer above the background layer and Fill it with white by using the “paint bucket tool”. Then from the Filter menu, choose “Texture > Grain” Change the Grain Type to Vertical and type in 91 for Intensity and 83 for Contrast.

Then change the blend mode of the grain layer to Multiply and opacity to 50% or 60%.
Now click on your background layer and goto “filter > noise > add noise”

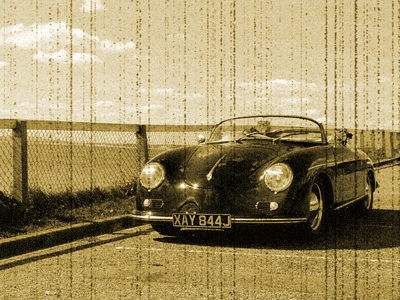
You should then have something like below.

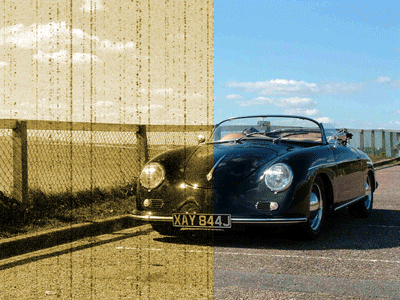
Can you see how the 2 images differ?.

Be Part Of The Community!
Become part of the hv-designs community.
Subscribe Via RSS or Follow Us On Twitter.


One Response to “Old Photo Tutorial”